Hi friends!
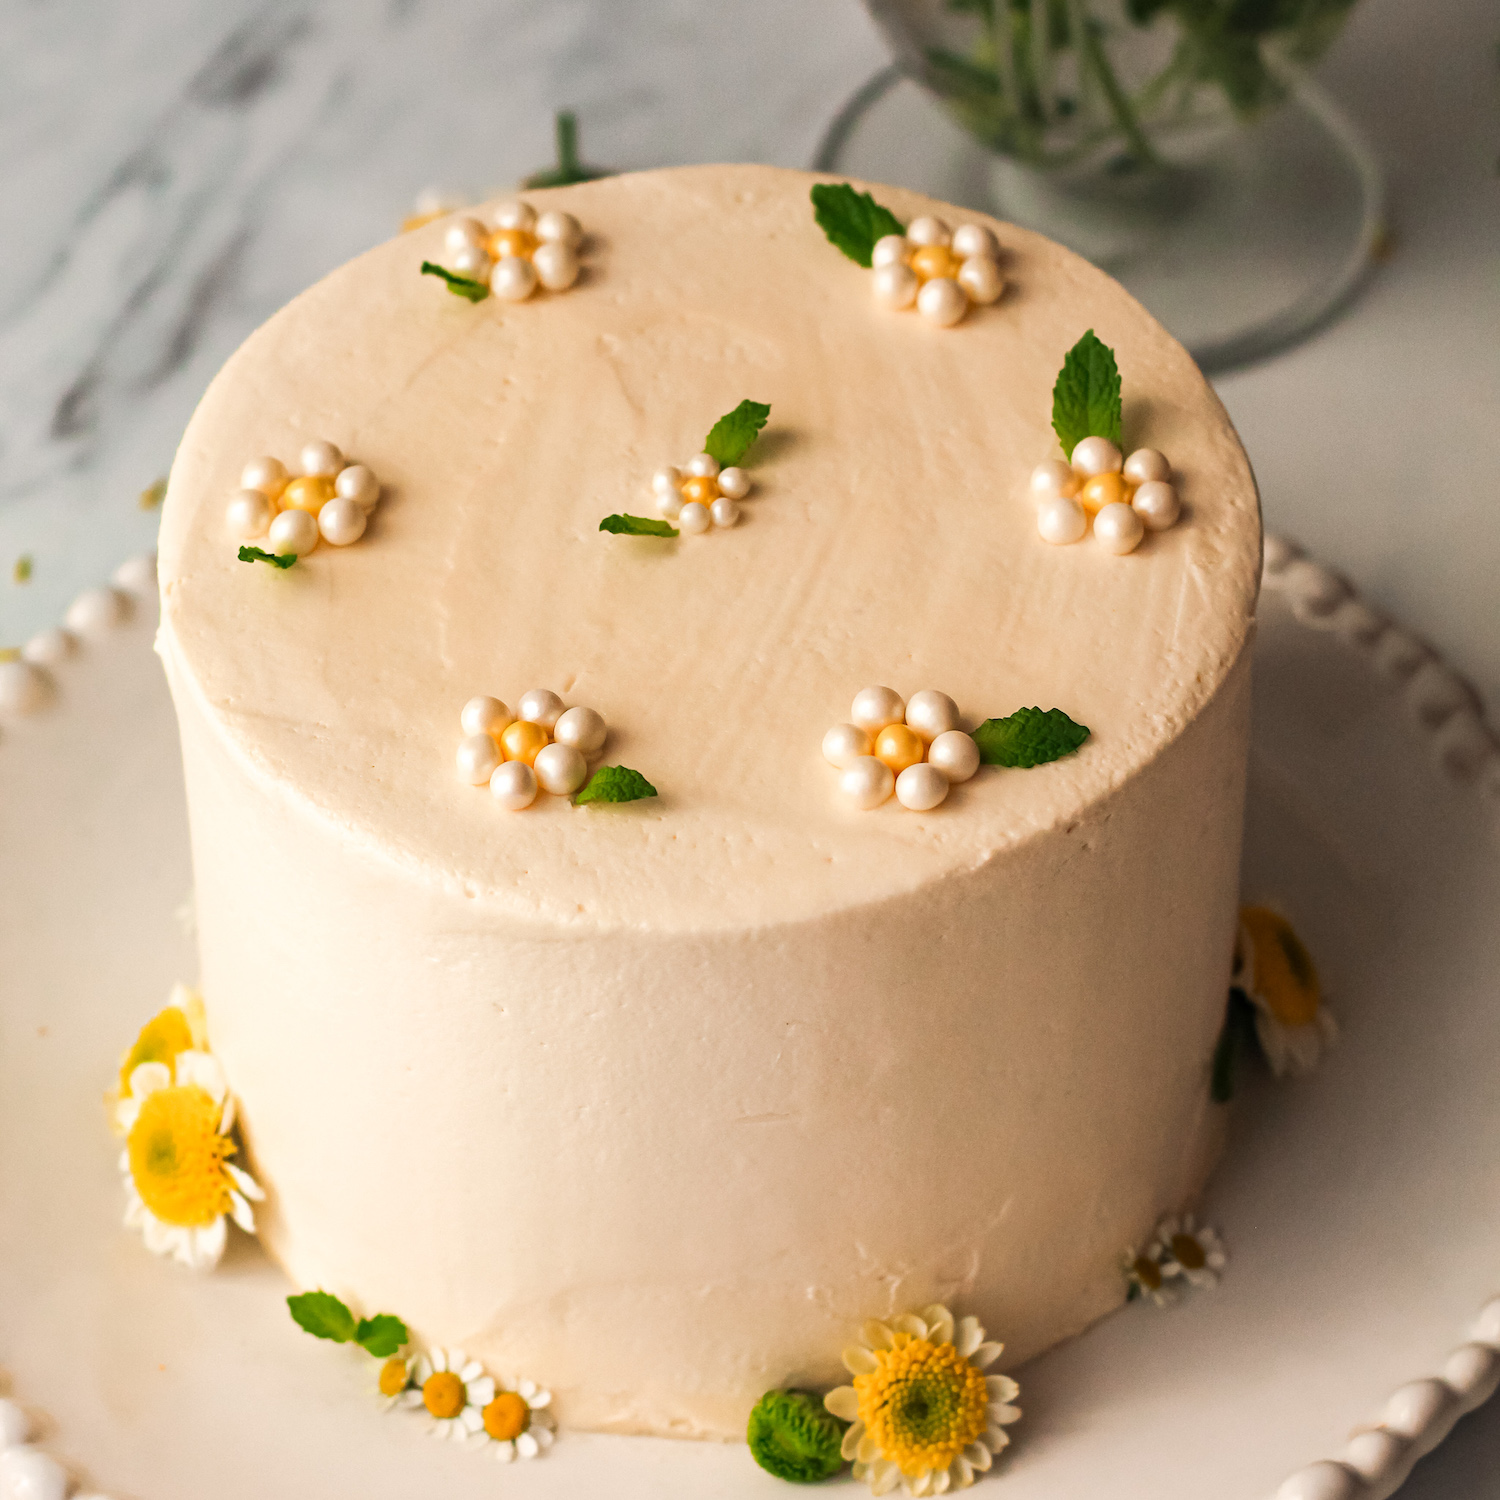
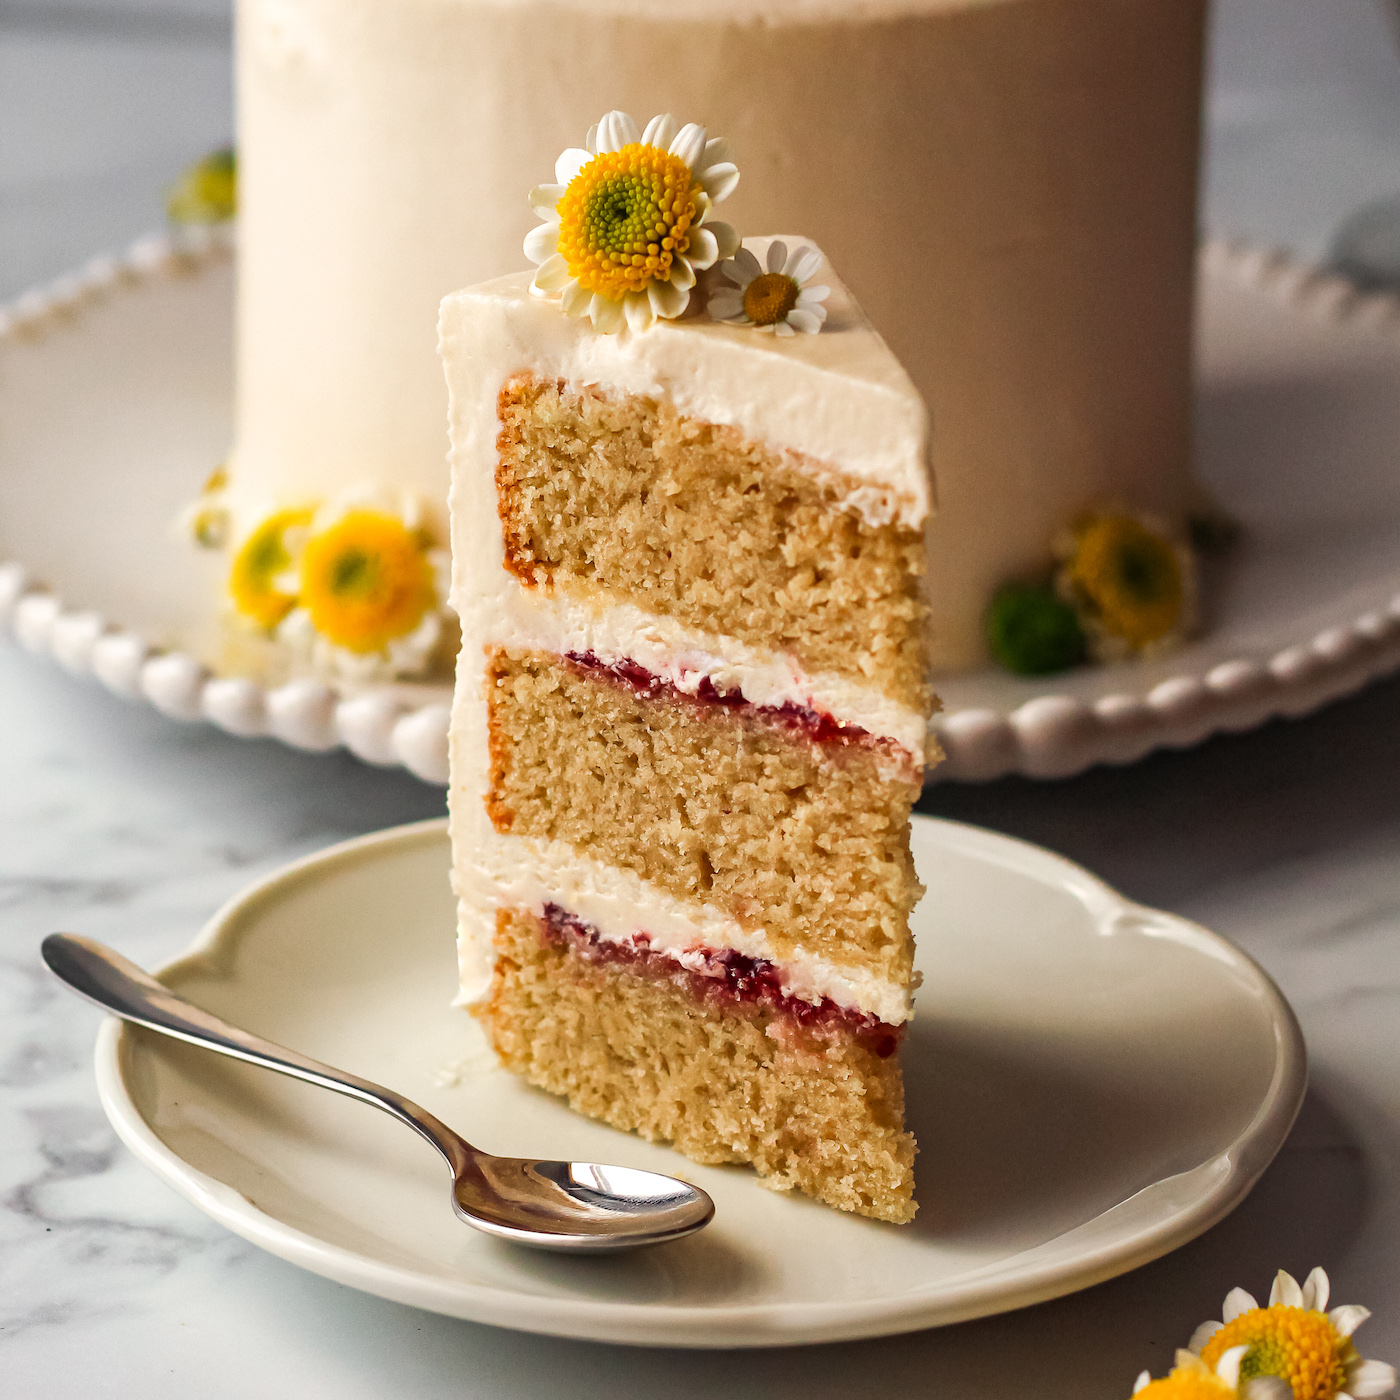
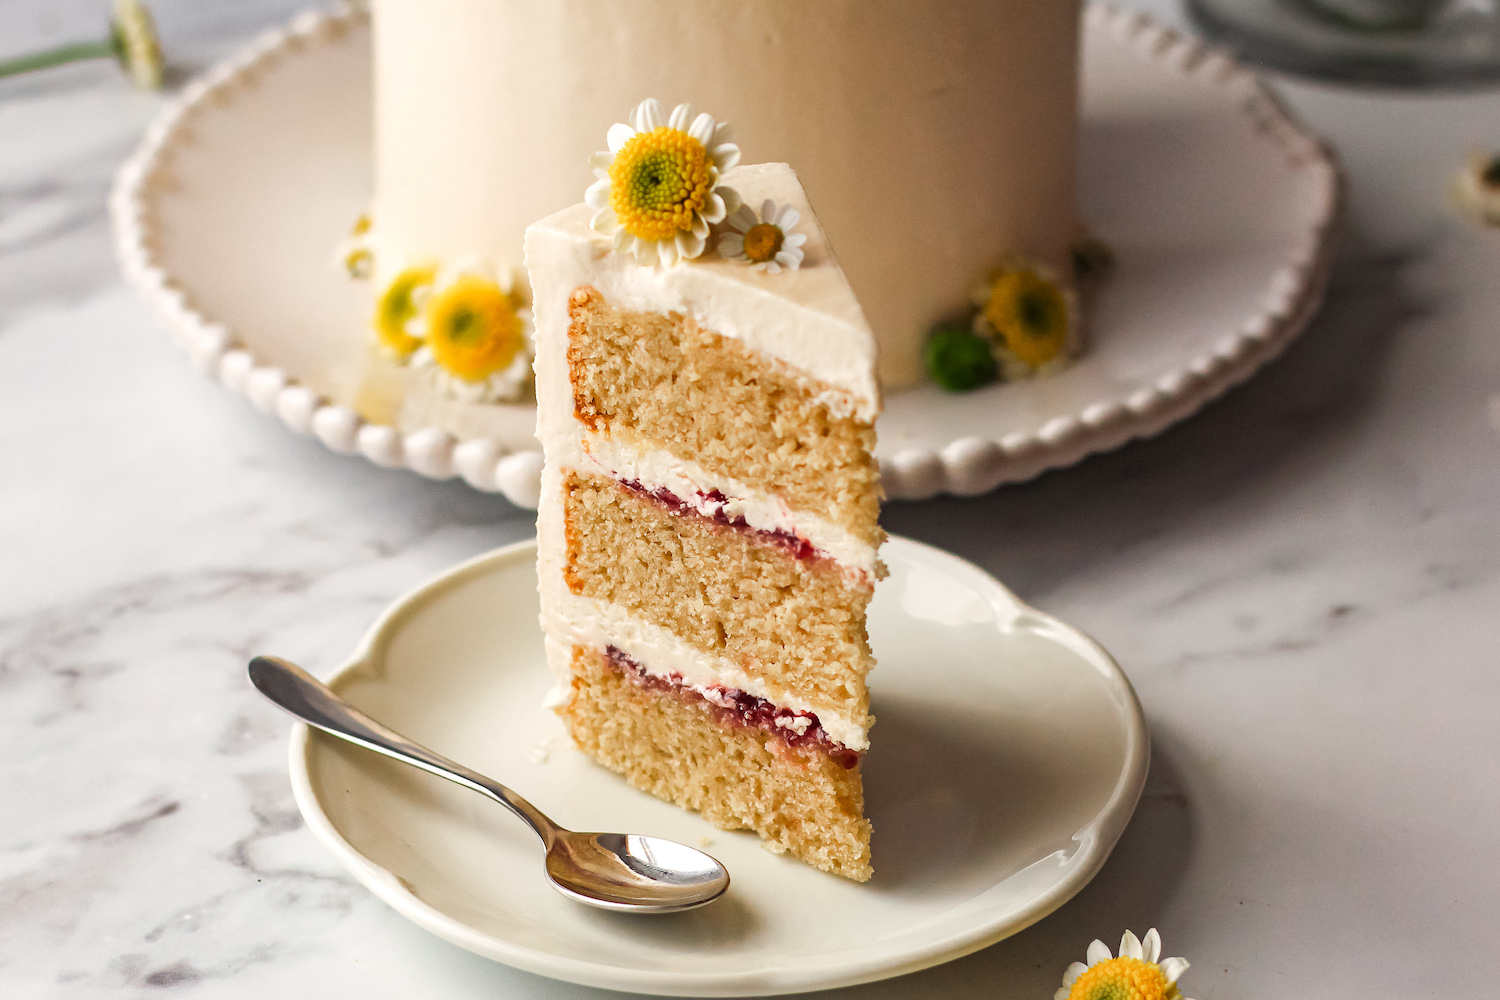
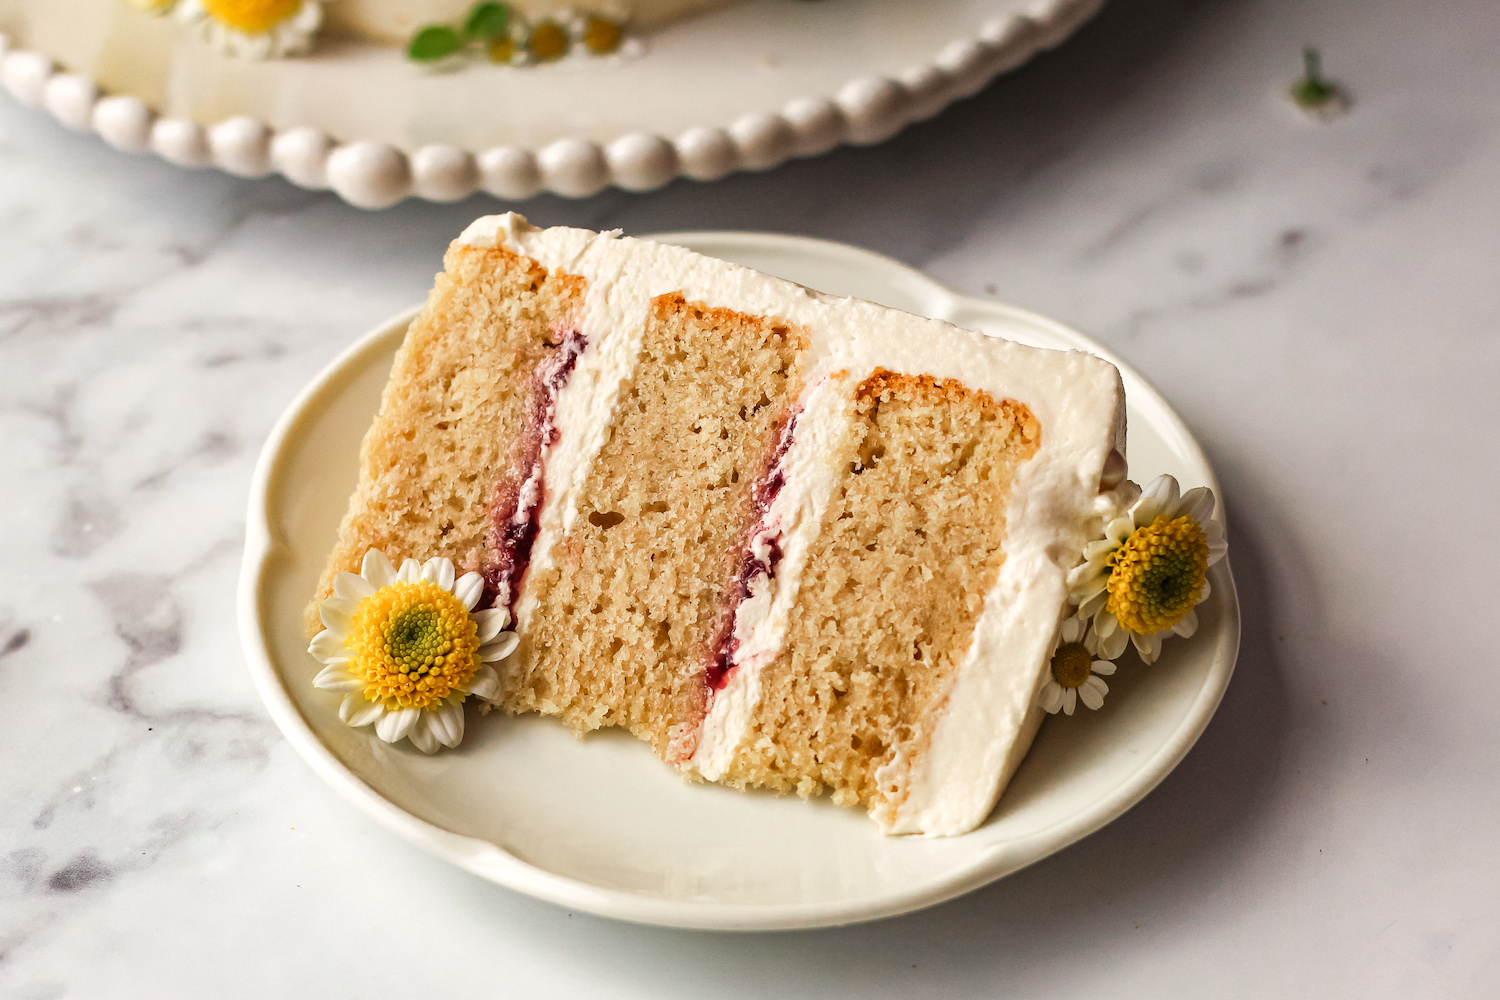
I recently made this cute daisy-themed vanilla cake and you all asked me on instagram how I made it so here is my foolproof vegan vanilla cake recipe! If you’re looking for something more than a basic vanilla cake recipe then feel free to check out my cake recipe index here!
I am super proud of this recipe as the cake itself actually tastes delicious without any fillings or cream and the best part is I haven’t used any funky ingredients! No aquafaba, no flax eggs or shop-bought egg replacers! It truly is a foolproof vegan vanilla cake.
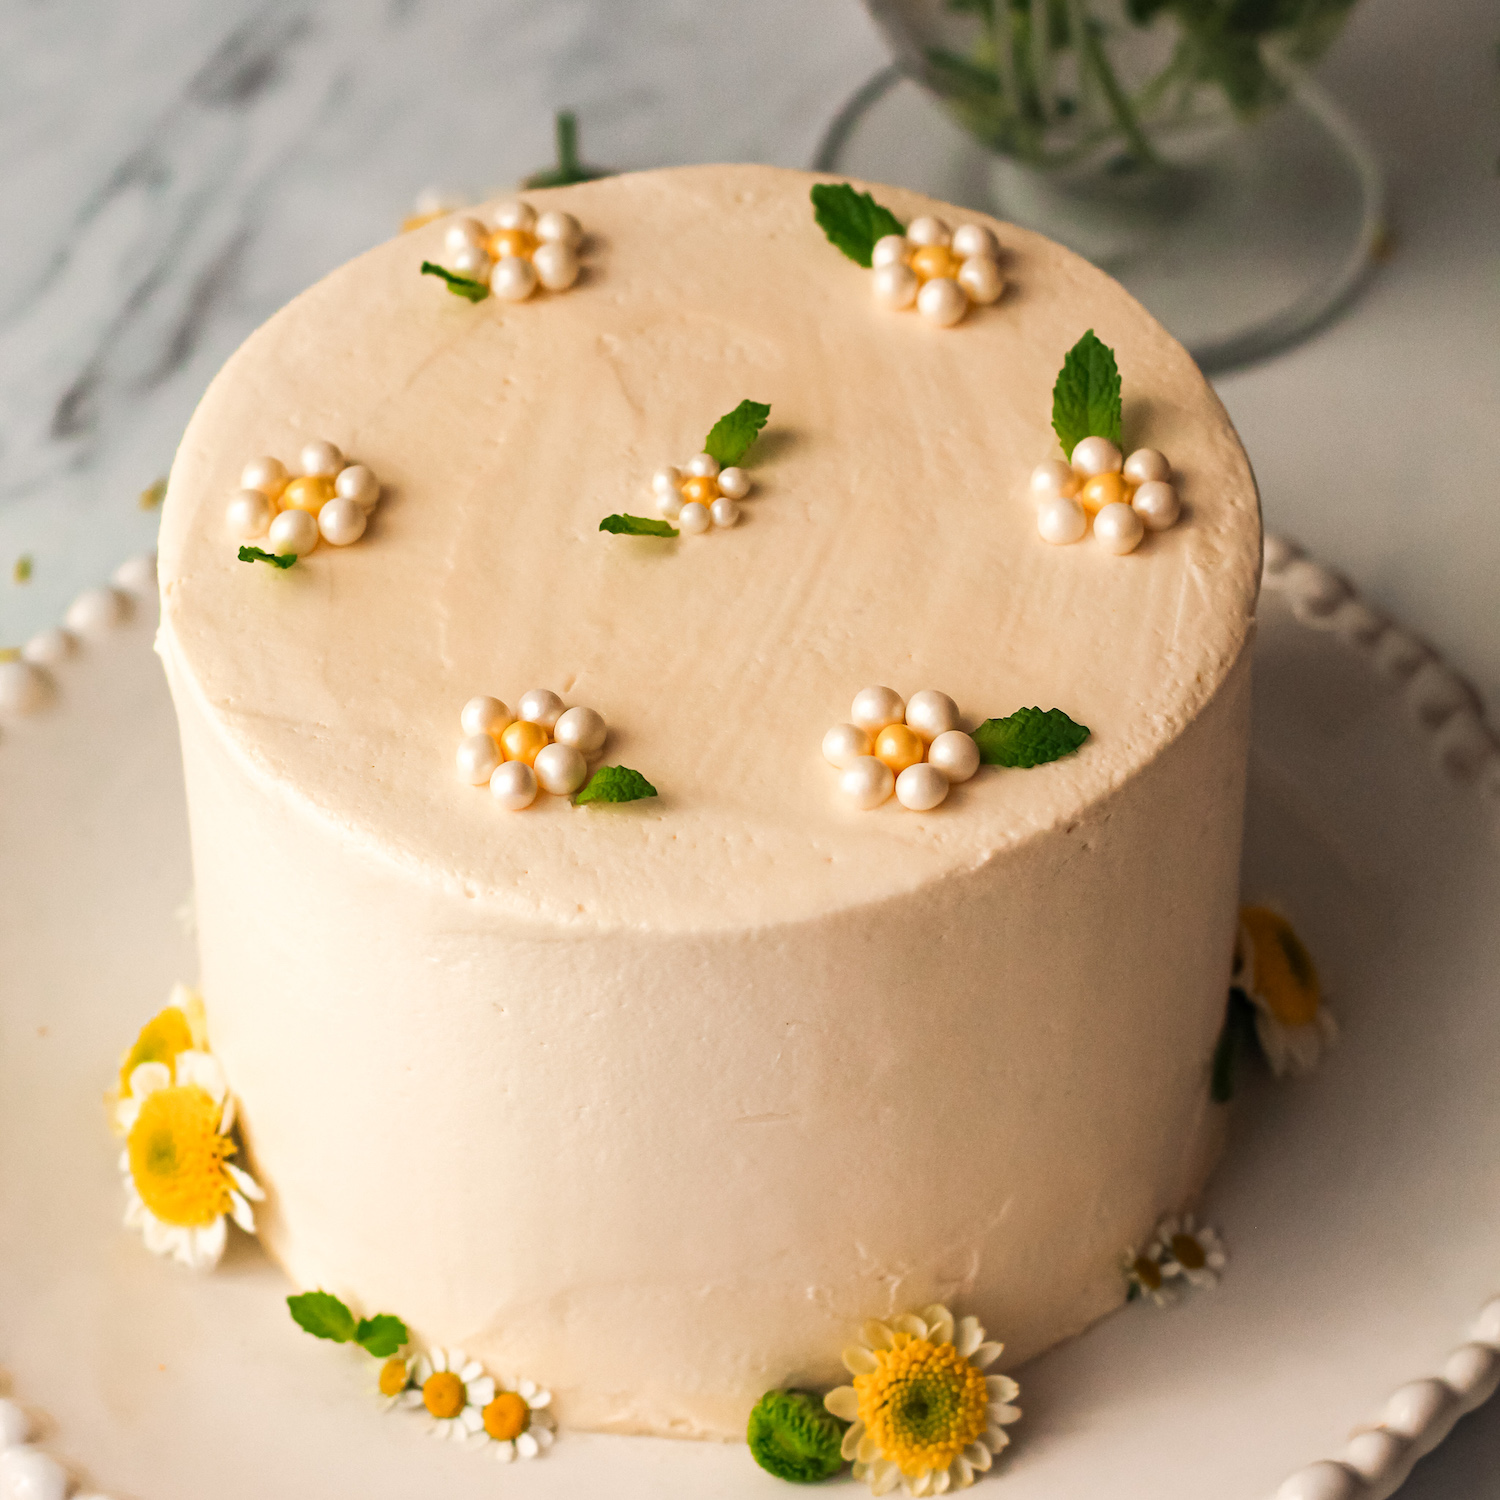
Having said that, vegan cakes can be immensely unforgiving. Since we cannot rely on eggs to do all the work (binding, leavening, flavouring, etc.), we have to manage the chemistry very delicately. This means being mindful of the order in which we add ingredients, the speed in which we mix them, the temperature, etc.!
The recipe I’ve written here is designed as as skeleton recipe that you can build from. I’ve included the main vanilla sponge cake and an easy vegan buttercream.
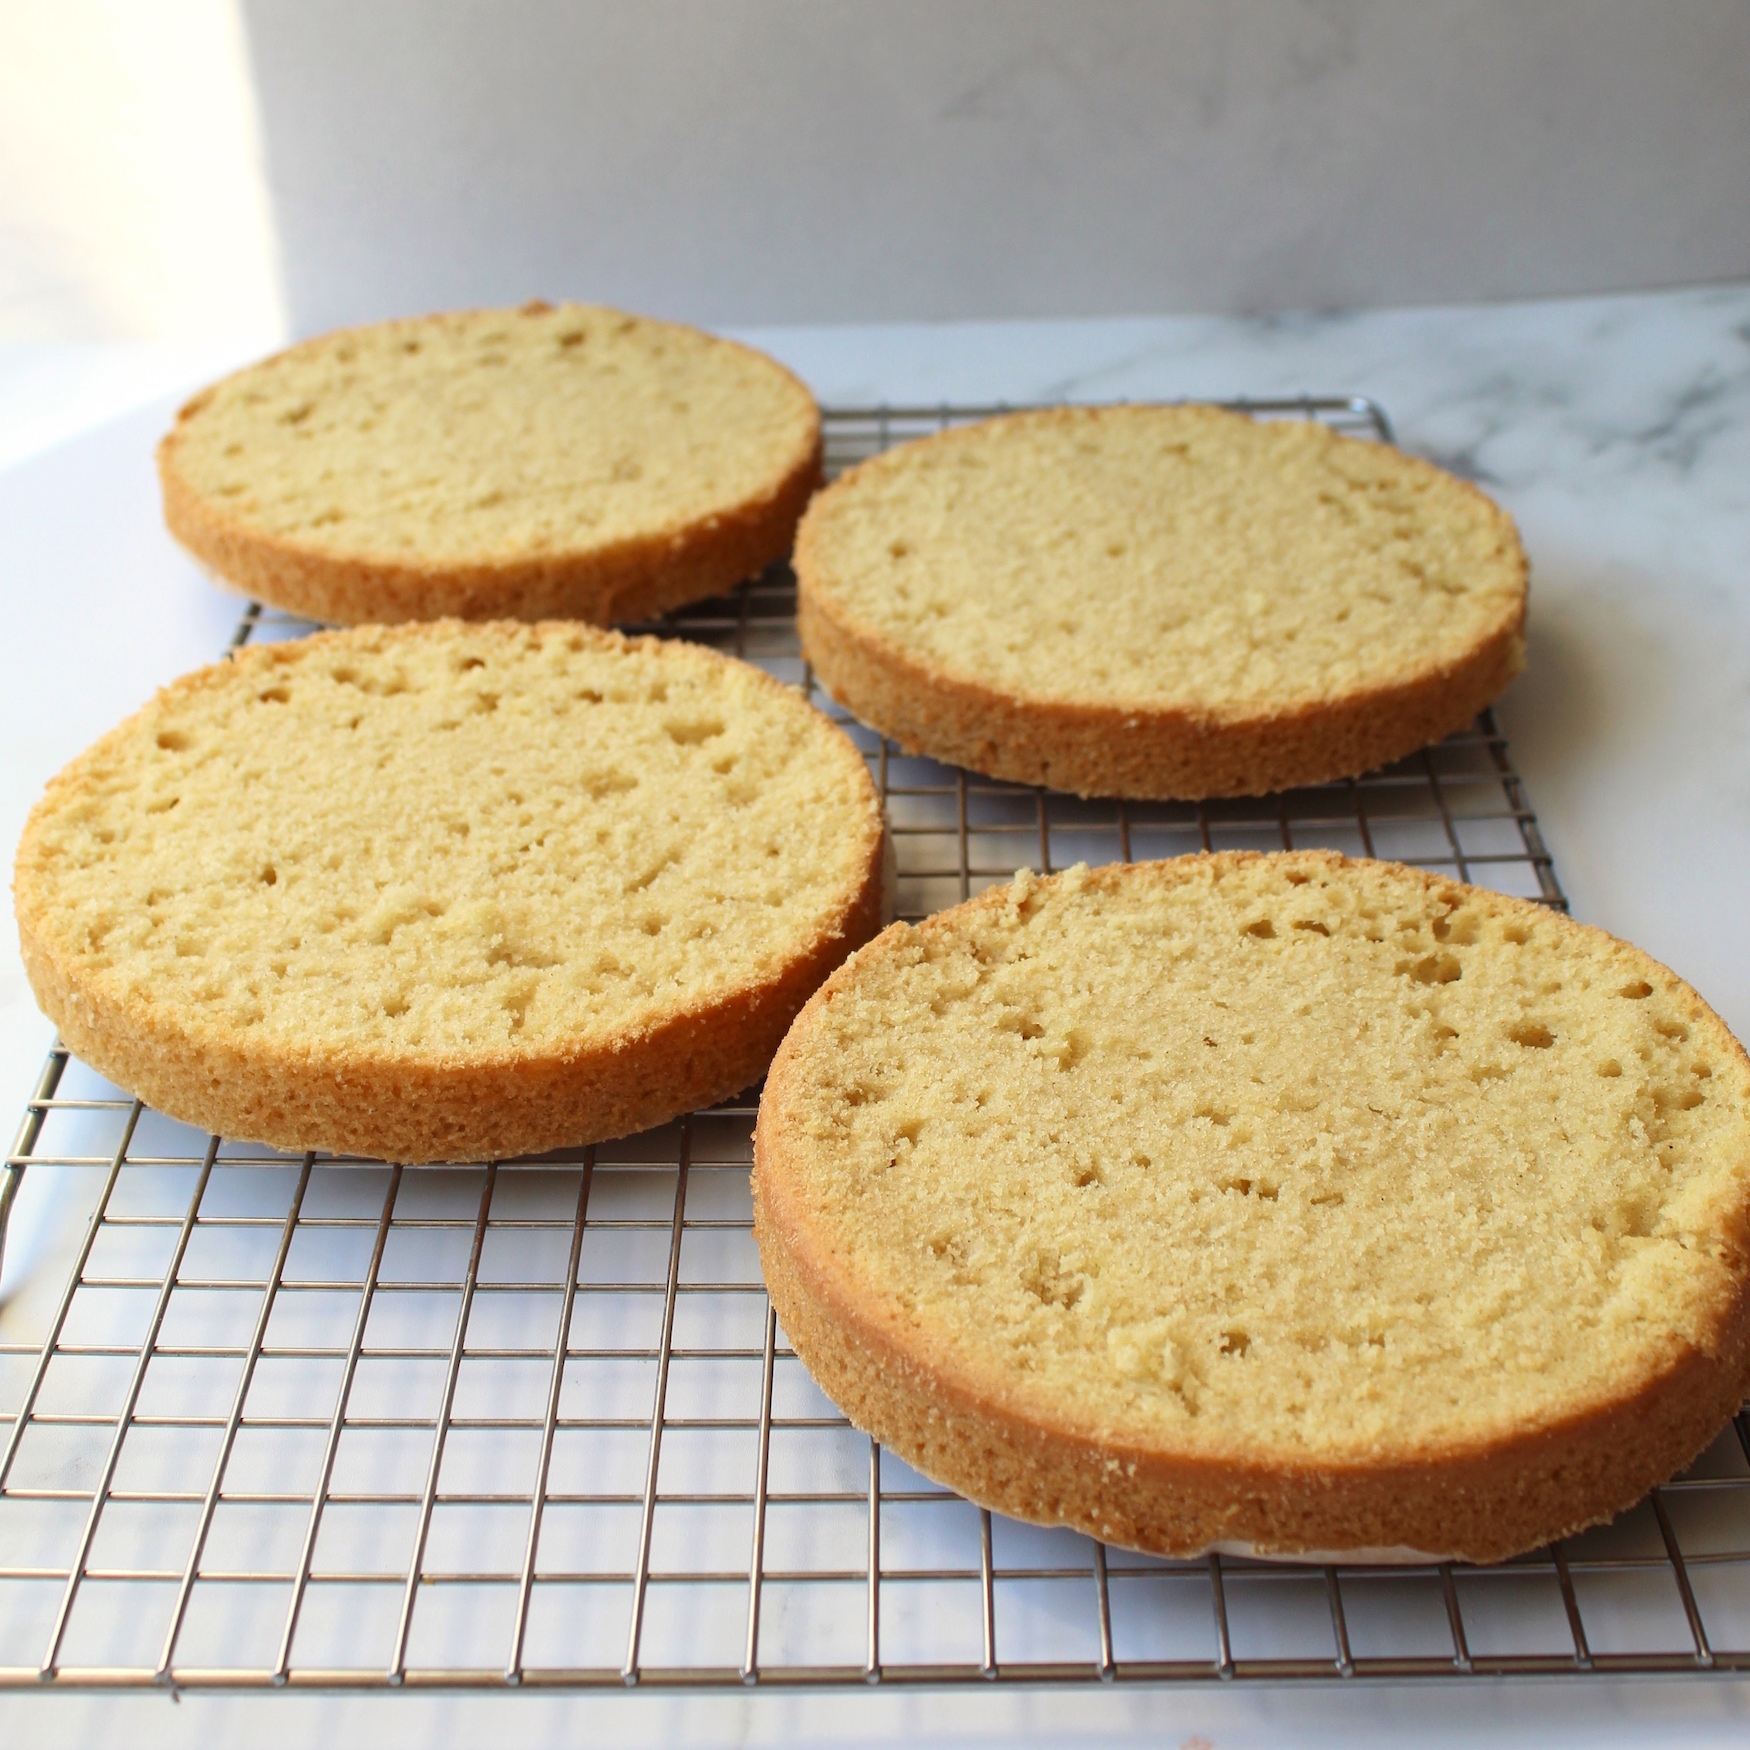

There are many types of buttercream you can use for a cake like this and the one I’ve presented here is approximately an American buttercream. Layer cakes need the extra structure so I would avoid softer buttercreams such as Swiss or Italian.
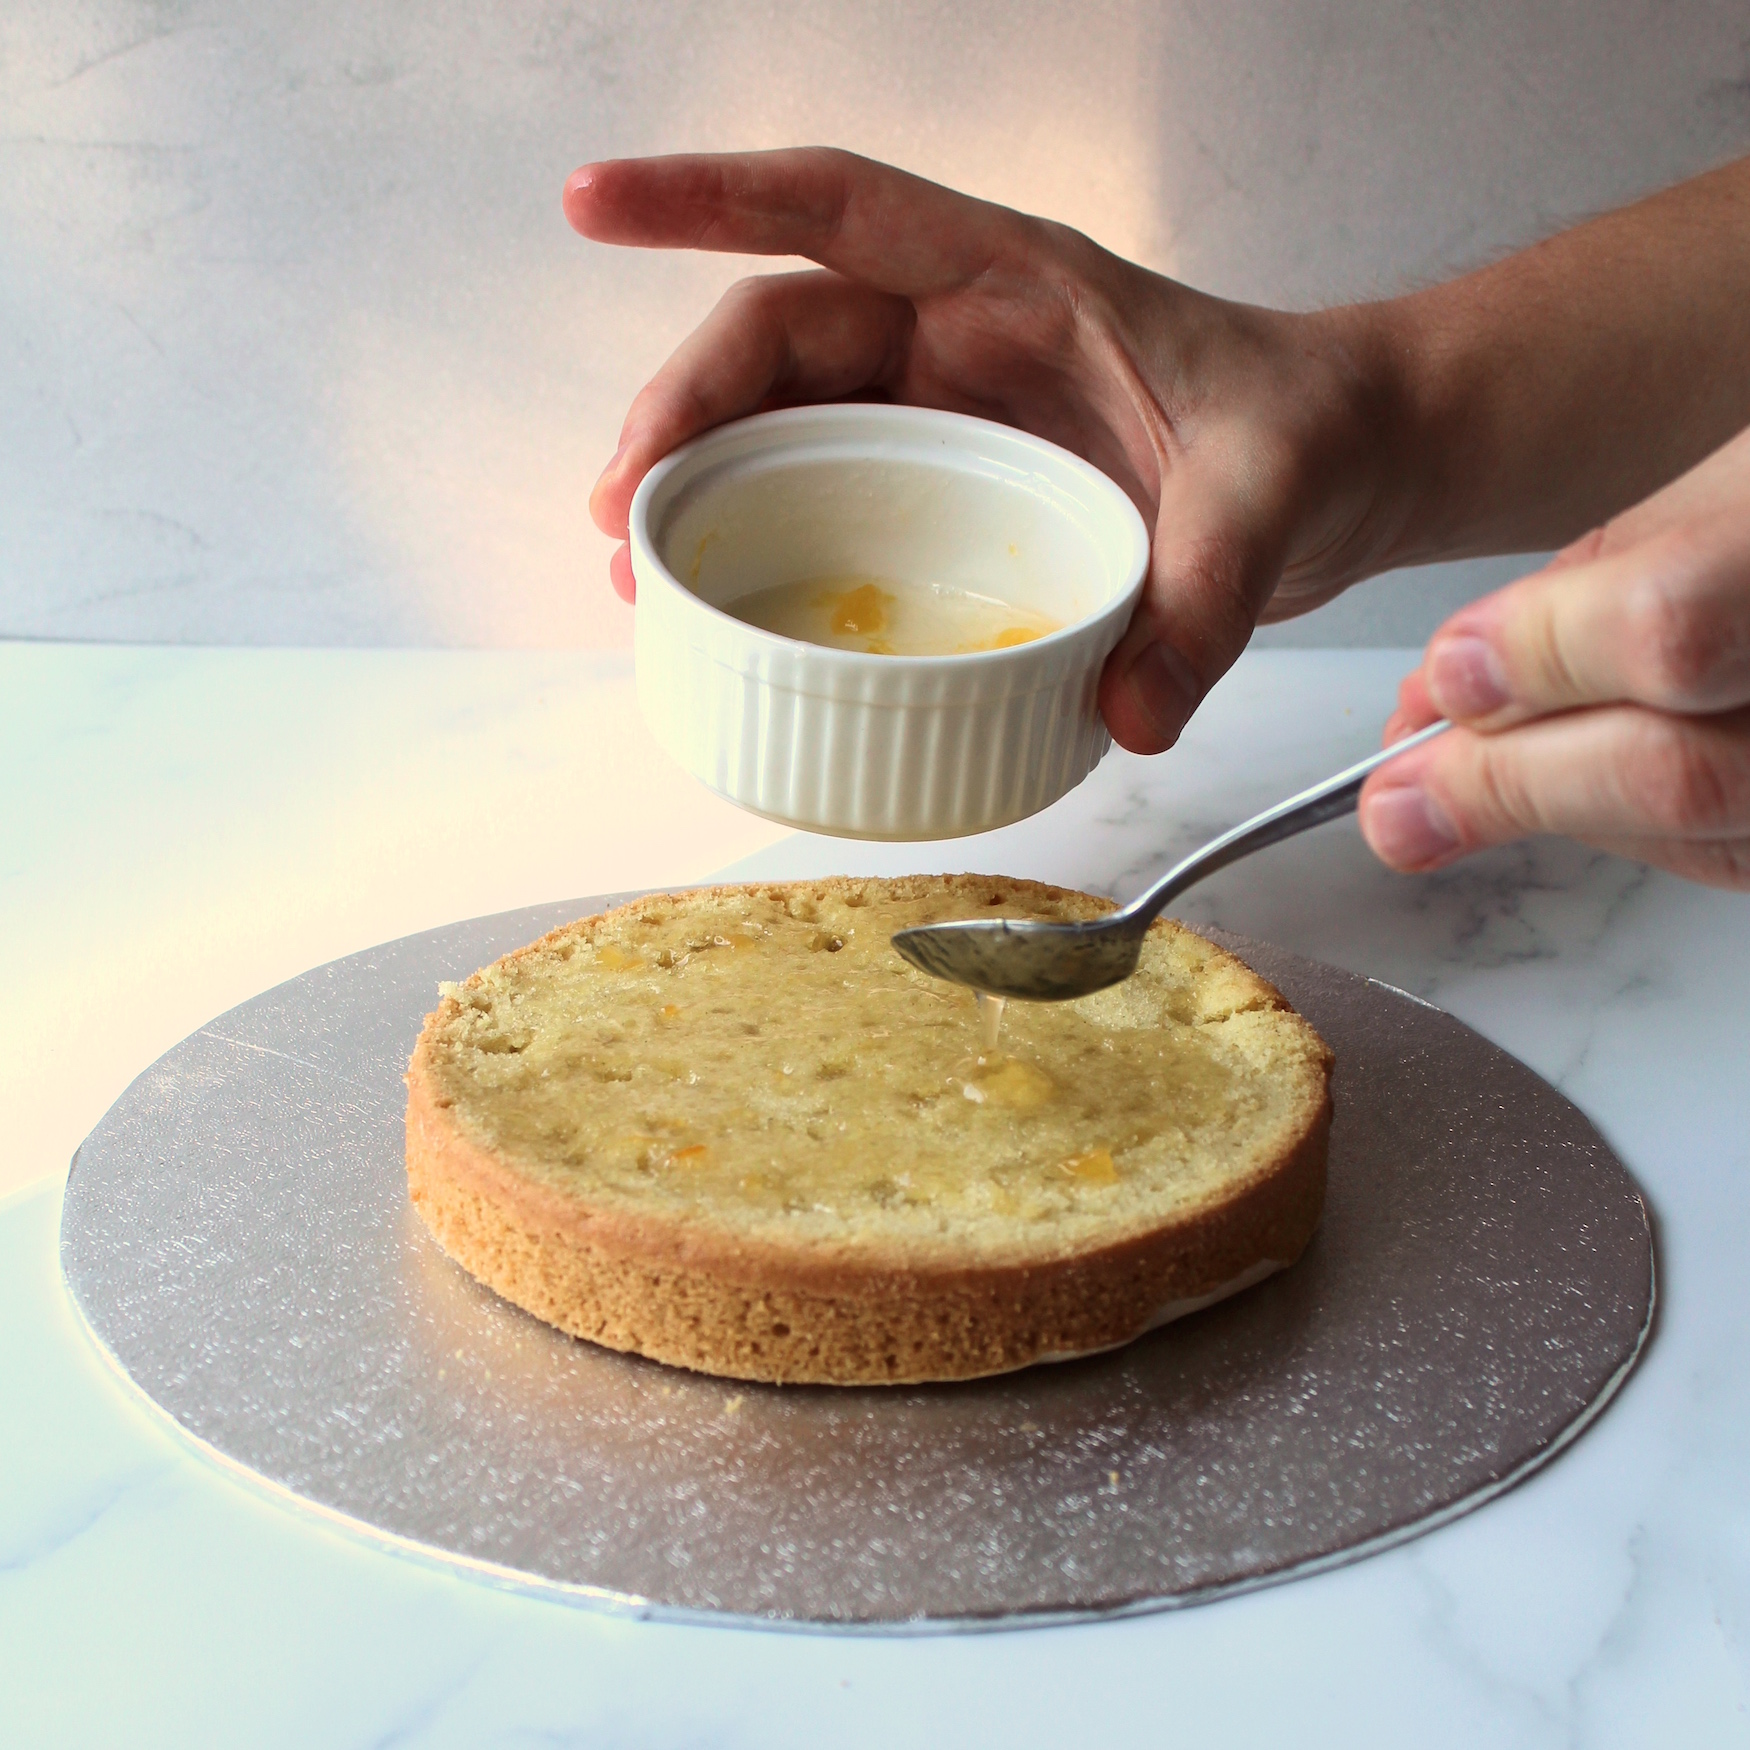
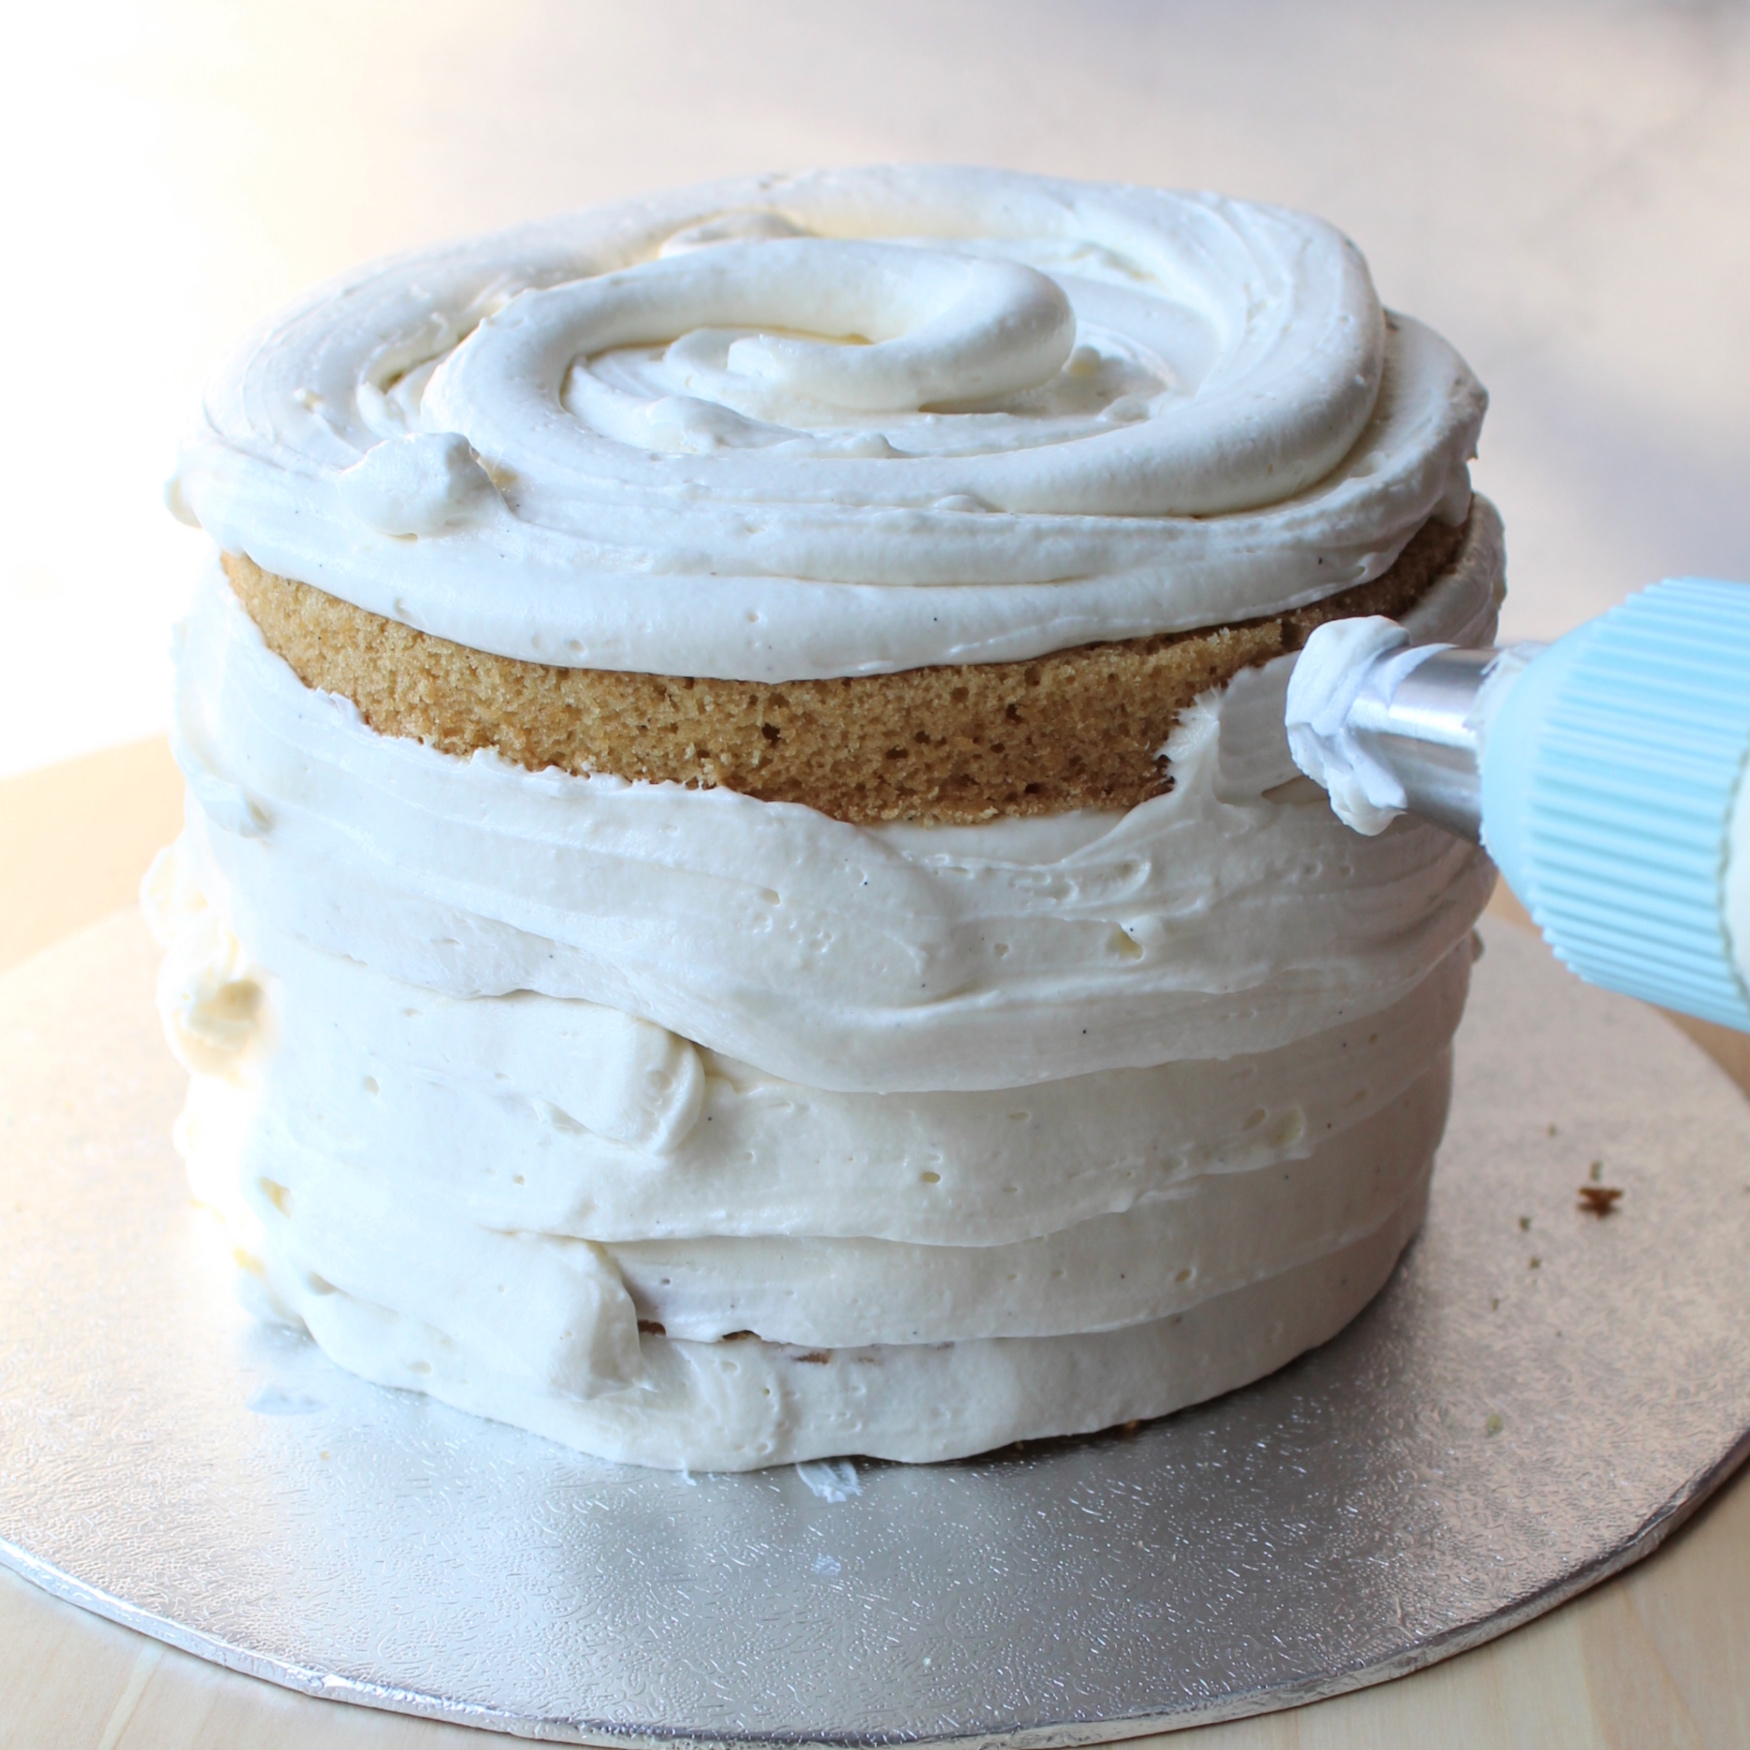
You may also notice in the picture below that I’m applying some sort of syrup to the cake layers. This is just a personal preference. I basically improvise a “simple syrup” consisting of hot water, sugar and apricot jam to bring some extra moisture and flavour to the cake layers!

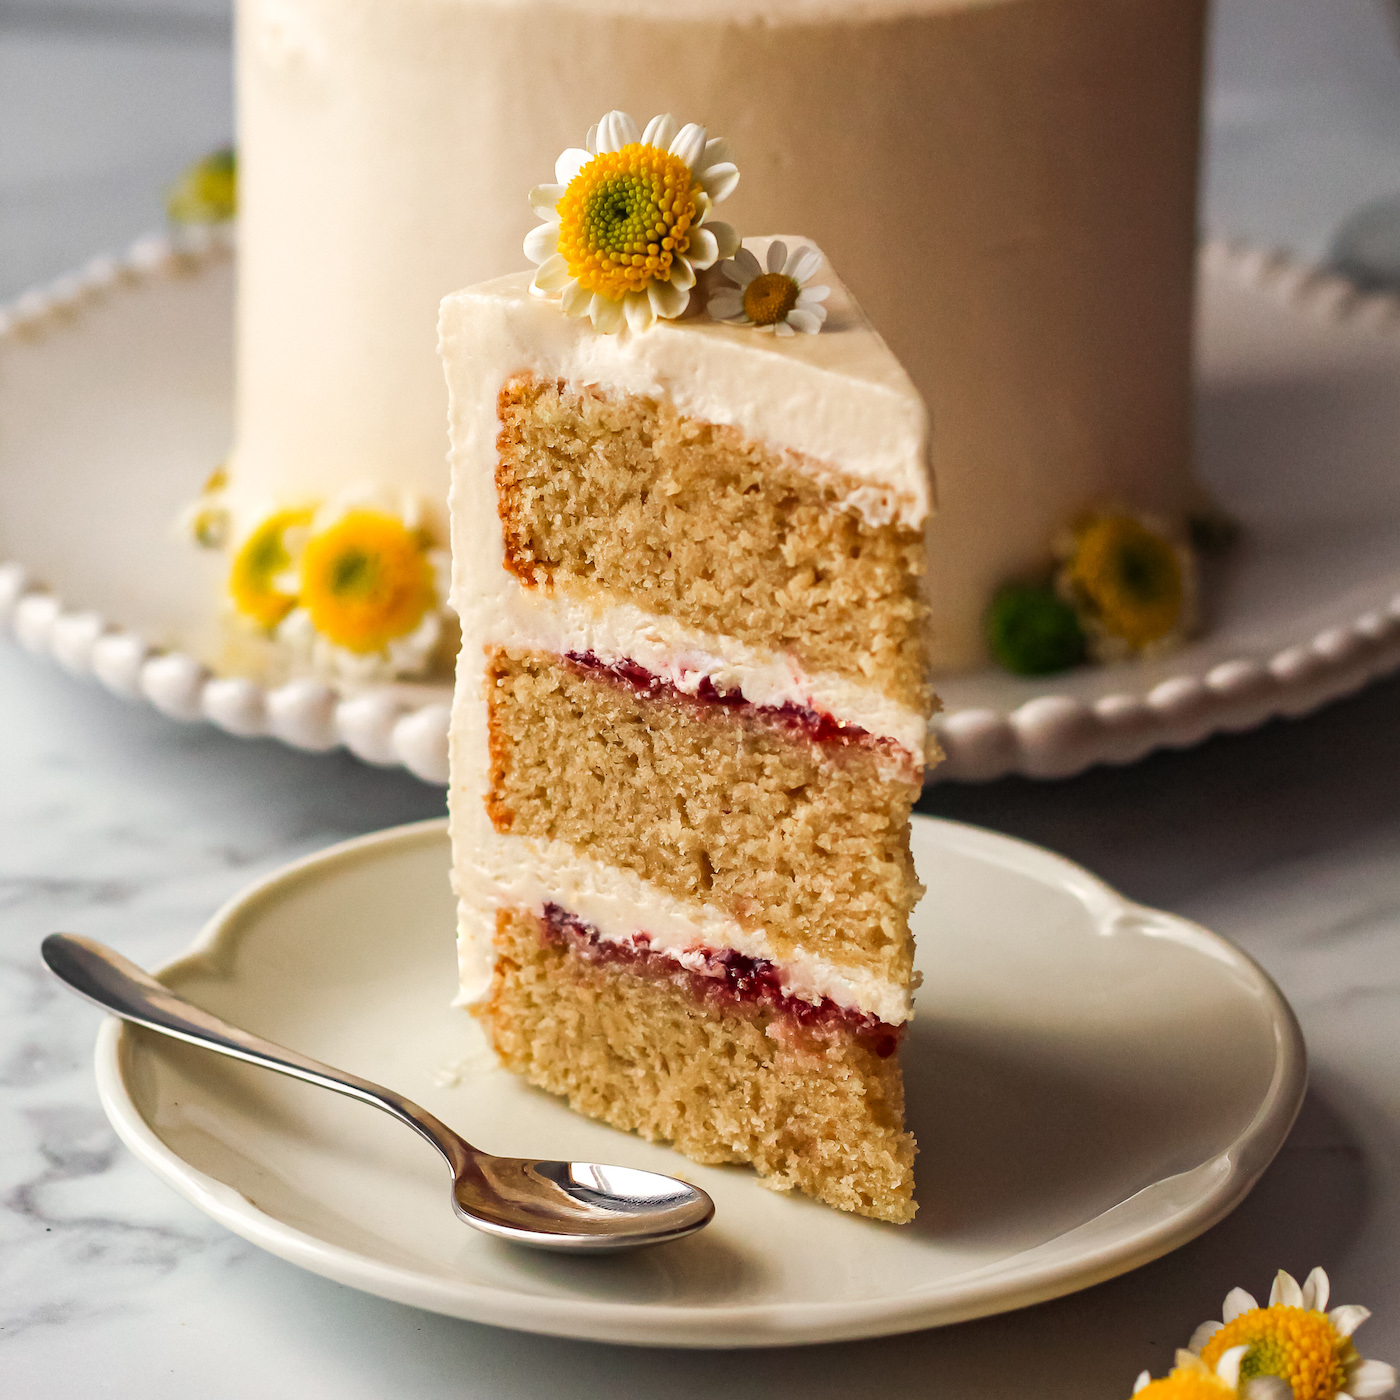
My recipe below is designed around a cake consisting of two 8-inch cake layers. However, I personally enjoy using 3 or 4 smaller 6-inch cake tins so I can stack them higher and have more layers. You can use either but be mindful that if you go for 6″ tins you will need to bake for 5-10 minutes less.
I’ve specified “vegetable oil” in my recipe as it’s one of the easiest oils to find but any neutral oil will work – olive oil and canola are great options too.
I recommend soy milk for this recipe as it has one of the highest protein % of plant milks. It’s also fairly easy to find! I generally go for the organic, unsweetened kind as it doesn’t have extra additives that could interfere with the chemistry of the bake and I can manage the sweetness of the bake through the other ingredients!

If you want perfect piped swirls on top of the cake but you’ve got a shaky hand (like me!) or you need practice then here’s a tip. Pipe swirls onto a piece of parchment. Keep piping until you have at least 6 good ones (or however many you need) for the top of the cake. Scrape the ugly ones back into the mixing bowl/piping bag and place the good swirls into the freezer for 20 minutes.
This firms them up and allows you to scoop them off the parchment with a palette knife and place them directly onto the cake without affecting their shape! Ta-da! Foolproof swirls!!

It’s better to overbake the cake and have to cut off some crispy golden edges than to undercook it and have the cake not fully cooked. A cake cannot be put back into the oven to “re-cook” it. If you poke the cake with a toothpick and it still comes out raw but the cake is already too brown then just cover the whole cake up with foil and keep baking.
I also thoroughly recommend using cake strips. If you are not familiar with cake strips, they are thin strips of fabric that you soak in cold water and wrap around the baking tin. By doing this, you slow down the cooking of the cake edges and guarantee a flat and even bake. If you don’t want to buy them you can also make them at home using this tutorial!
If you’re feeling lazy, feel free to use 150g of neutral oil instead of the mix of oil + vegan butter. I have found that butter adds an attractive flavour to the mix but it can be swapped out quite easily! A general rule is that oil cakes are moister but have less flavour and butter cakes are dryer but have more flavour!

Another important point is that you should not add the wet ingredients into the dry ingredients until your oven is preheated. As soon as you mix the batter, the bicarbonate of soda will start reacting with the vinegar so it is super important to get it in the oven straight away. Also, do not open the oven until the very end. This can cause the cake to sink or collapse.


If I haven’t already mentioned, please do weigh your ingredients! You can get electronic scales off Amazon for £10 or less.
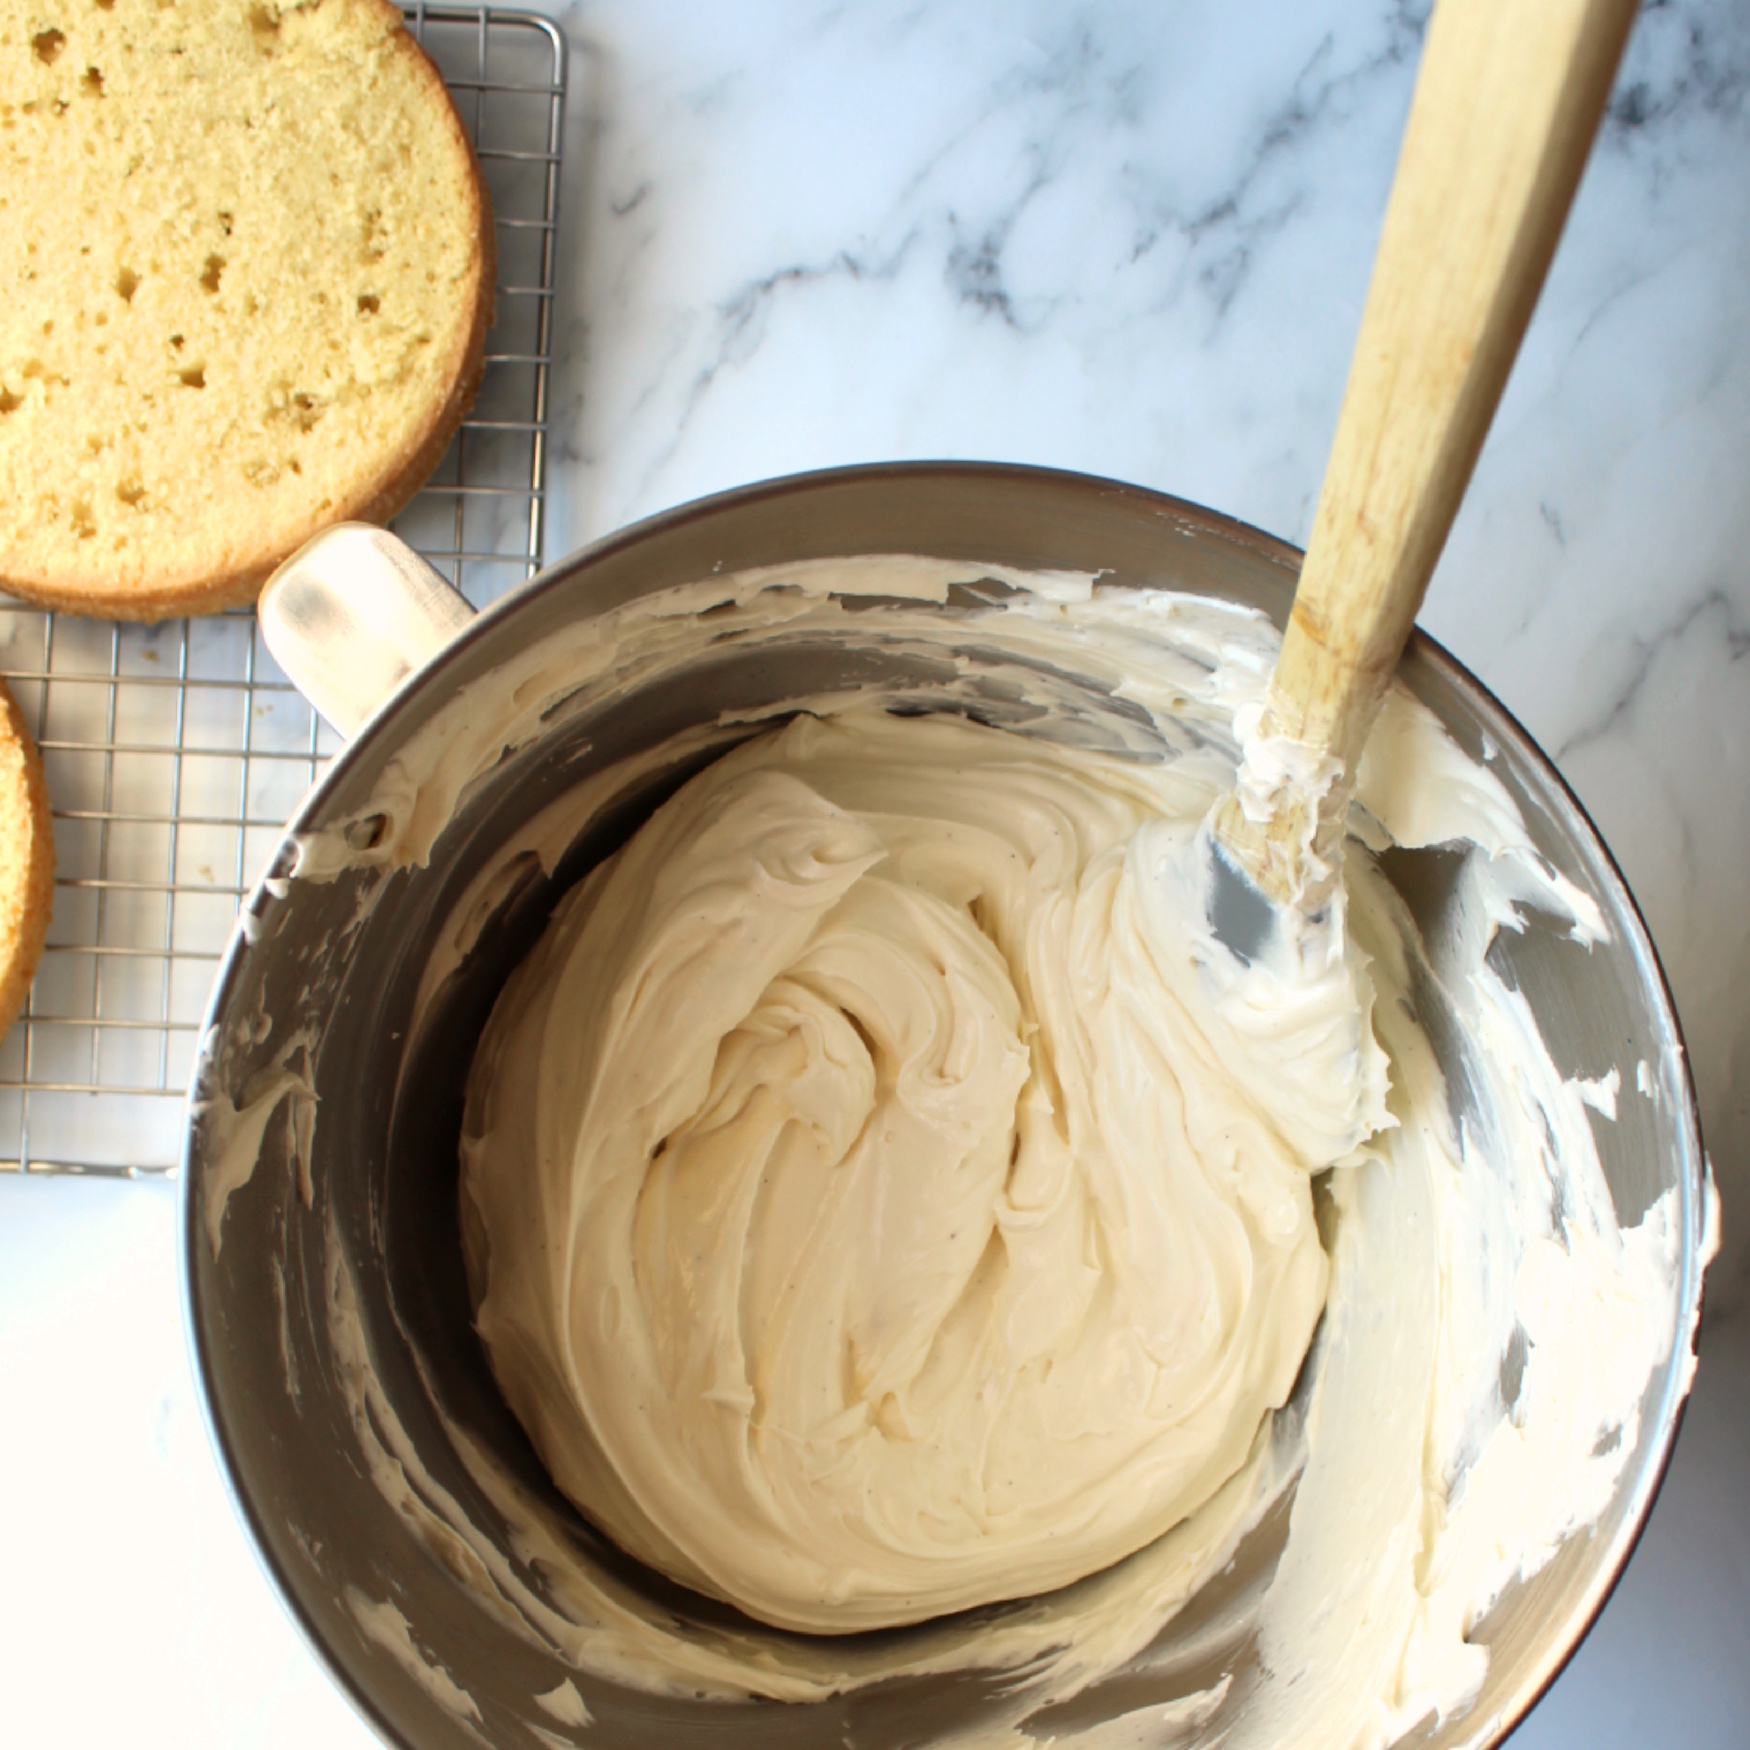
One common mistake with buttercreams is not using room temperature ingredients. This is so so important as you cannot cream butter that is too cold – it will just become chunky and grainy.
For this recipe you’ll need:
- 2 x 8-inch cake tins (or 3-4 x 6 inch tins )
- 1 large piping bag + 1cm circular piping nozzle
- silicone spatula
- stand mixer with paddle attachment (you can use an electric whisk but you’ll whip air into the buttercream and it won’t be 100% smooth)
Enjoy!!
Foolproof Vegan Vanilla Cake
This delicious foolproof vegan vanilla recipe will have your friends and family gagging for more. It's fluffy, soft, moist and indistinguishable from a non-vegan vanilla cake!

Ingredients
- Cake:
- 500g plain flour
- 350g caster sugar
- 420ml soy milk (organic, room temperature)
- 1 tbsp (15ml) apple cider vinegar
- 2 tsp baking powder
- 1 tsp baking soda
- 1 tsp salt
- 80g neutral oil (olive, vegetable, canola, etc.)
- 60g melted vegan butter (I use Naturli baking block)
- 2 tbsp vanilla paste/extract
- Vegan Buttercream
- 400g vegan butter (75%+ fat – I used Naturli baking block)
- 100g veg shortening (100% fat – I used Crsp N’ Dry block)
- 750g icing sugar
- 2 tbsp vanilla paste.
Directions
- Step 1 Vanilla Cakes: Pre-heat the oven to 180C (350F).
- Step 2 Sift the flour, sugar, baking powder, baking soda and salt into a mixing bowl.
- Step 3 Add the apple cider vinegar to the plant milk and set aside to curdle for 5 minutes.
- Step 4 Grease two 8-inch round cake tins with vegan butter/oil. Cut circular discs of parchment to place at the bottom of the tins.
- Step 5 Add the vegetable oil, melted butter and vanilla paste to the curdled milk. Whisk together and then pour into the dry ingredients.
- Step 6 Mix the dry and wet ingredients together until combined (be careful not to overmix) and immediately divide between the two, or four, pans.
- Step 7 Bake for 35-40 minutes. Use a toothpick at the 35 minute mark to check they are cooked. If you’re using 6-inch cake plans then bake for 25-30 minutes.
- Step 8 Remove from the oven and place onto a cooling rack. After 1 hour of cooling. Place in the fridge to chill while you work on the buttercream.
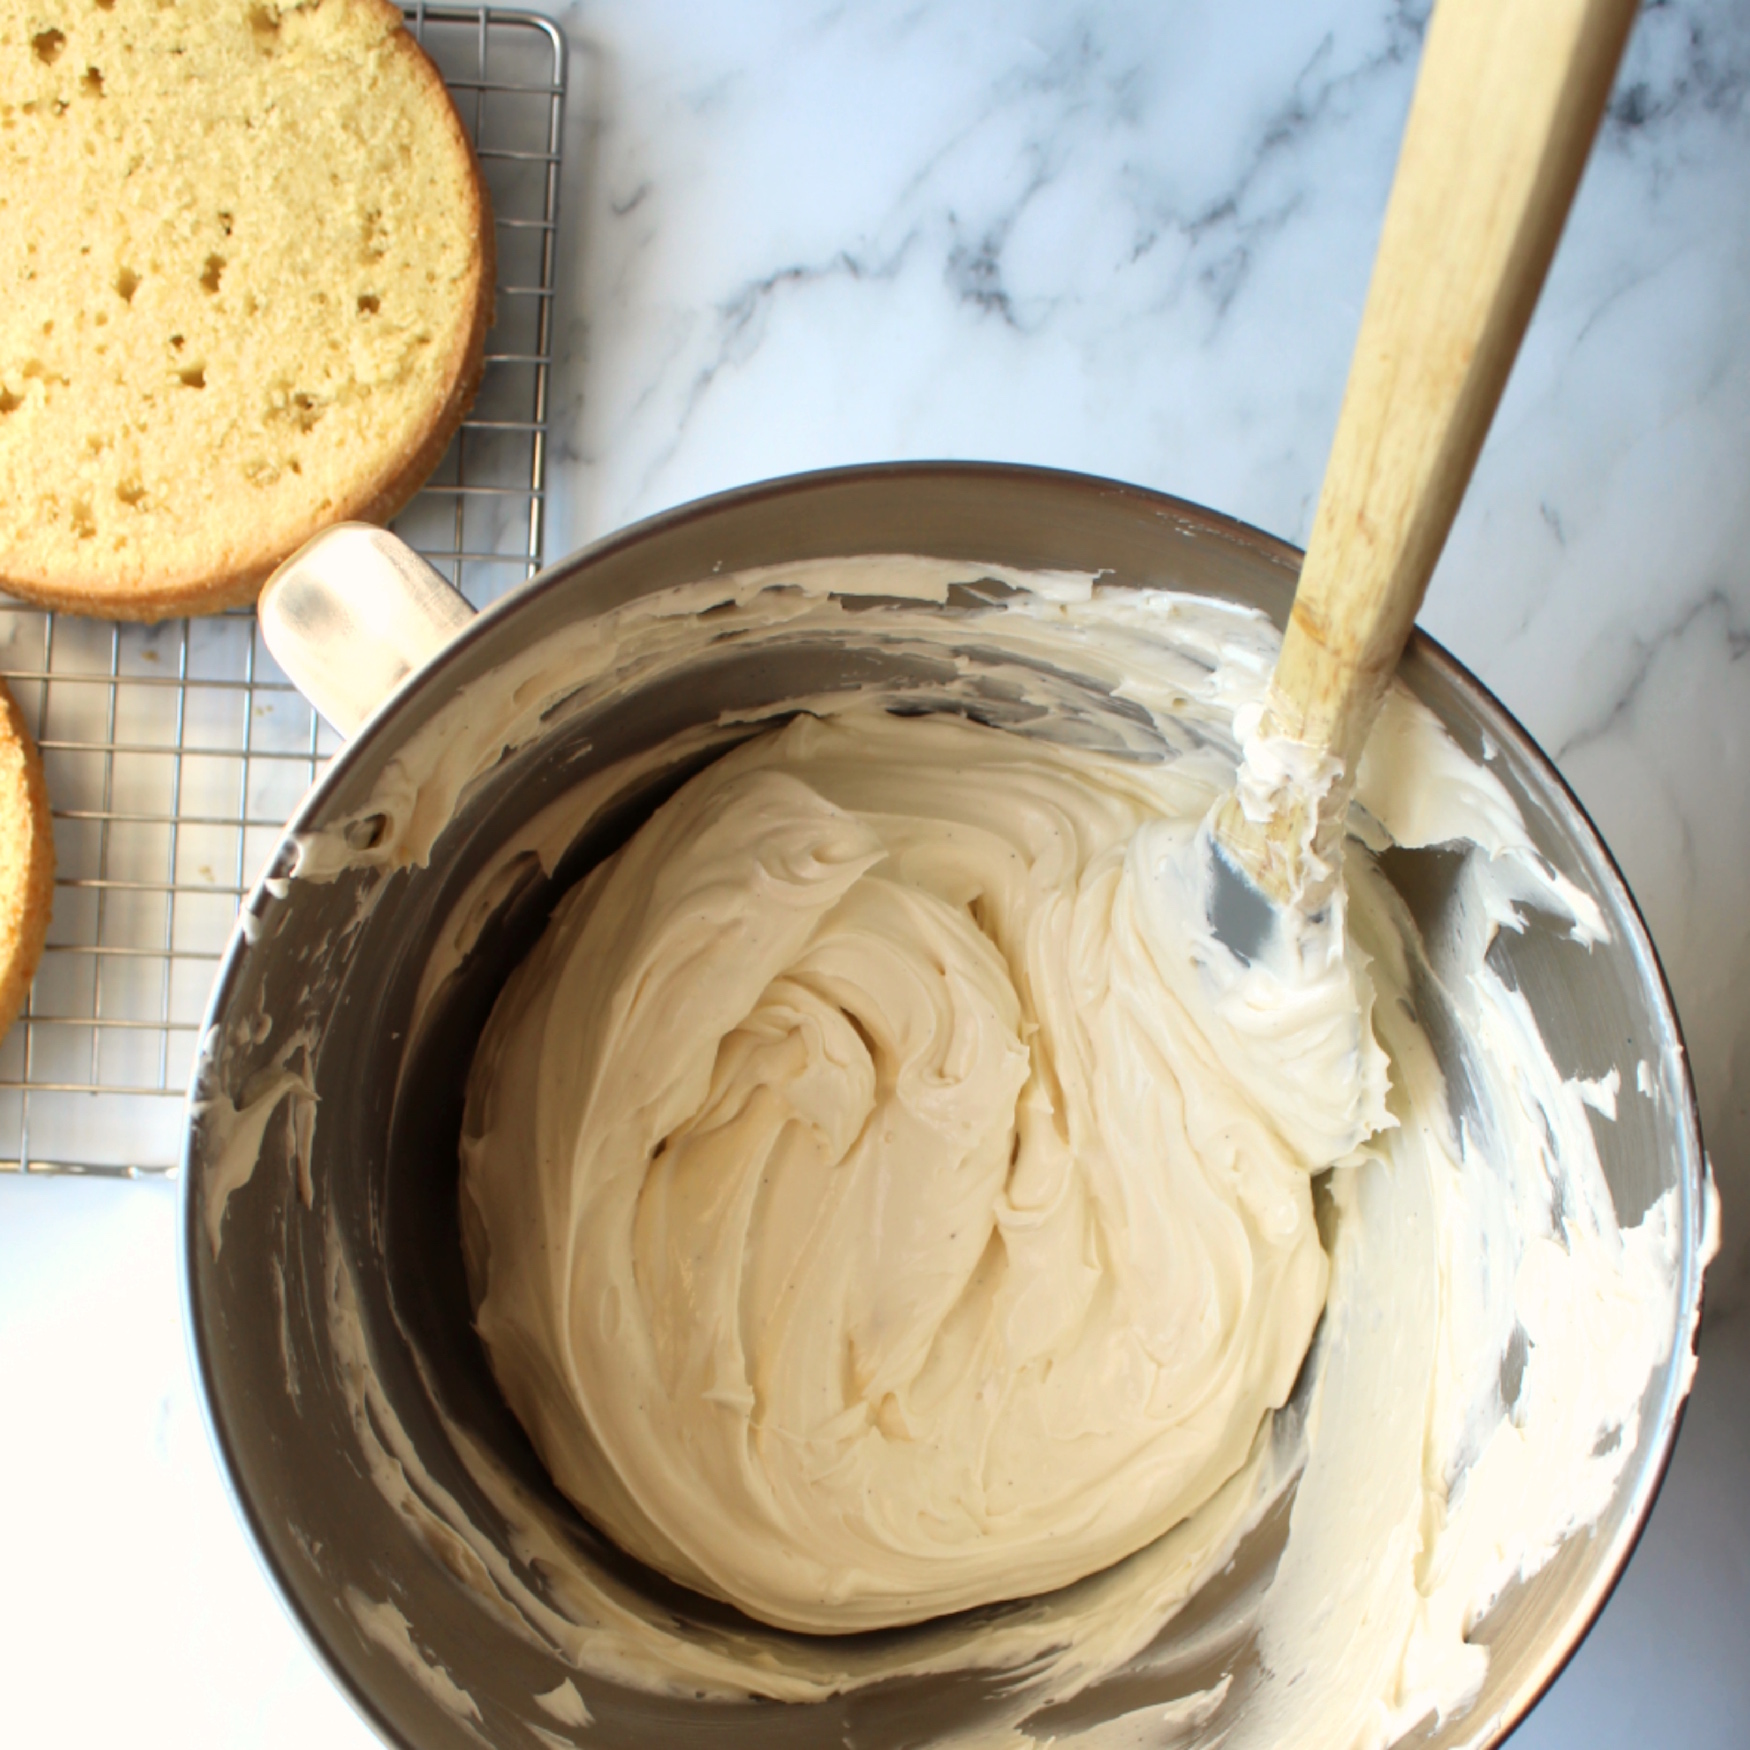
- Step 9 Buttercream: Put the vegan butter and shortening in a stand mixer bowl with a paddle attachment and cream together for 10 minutes on medium-low speed until pale and fluffy. It is essential that they are room temperature before you mix them.
- Step 10 Sieve in the icing sugar 1 cup at a time and whisk until smooth.
- Step 11 Cream together for another 5 minutes until silky smooth and then scoop the buttercream into a piping bag.
- Step 12 Assembly: Trim the domes off the cake layers if you want perfectly flat layers.
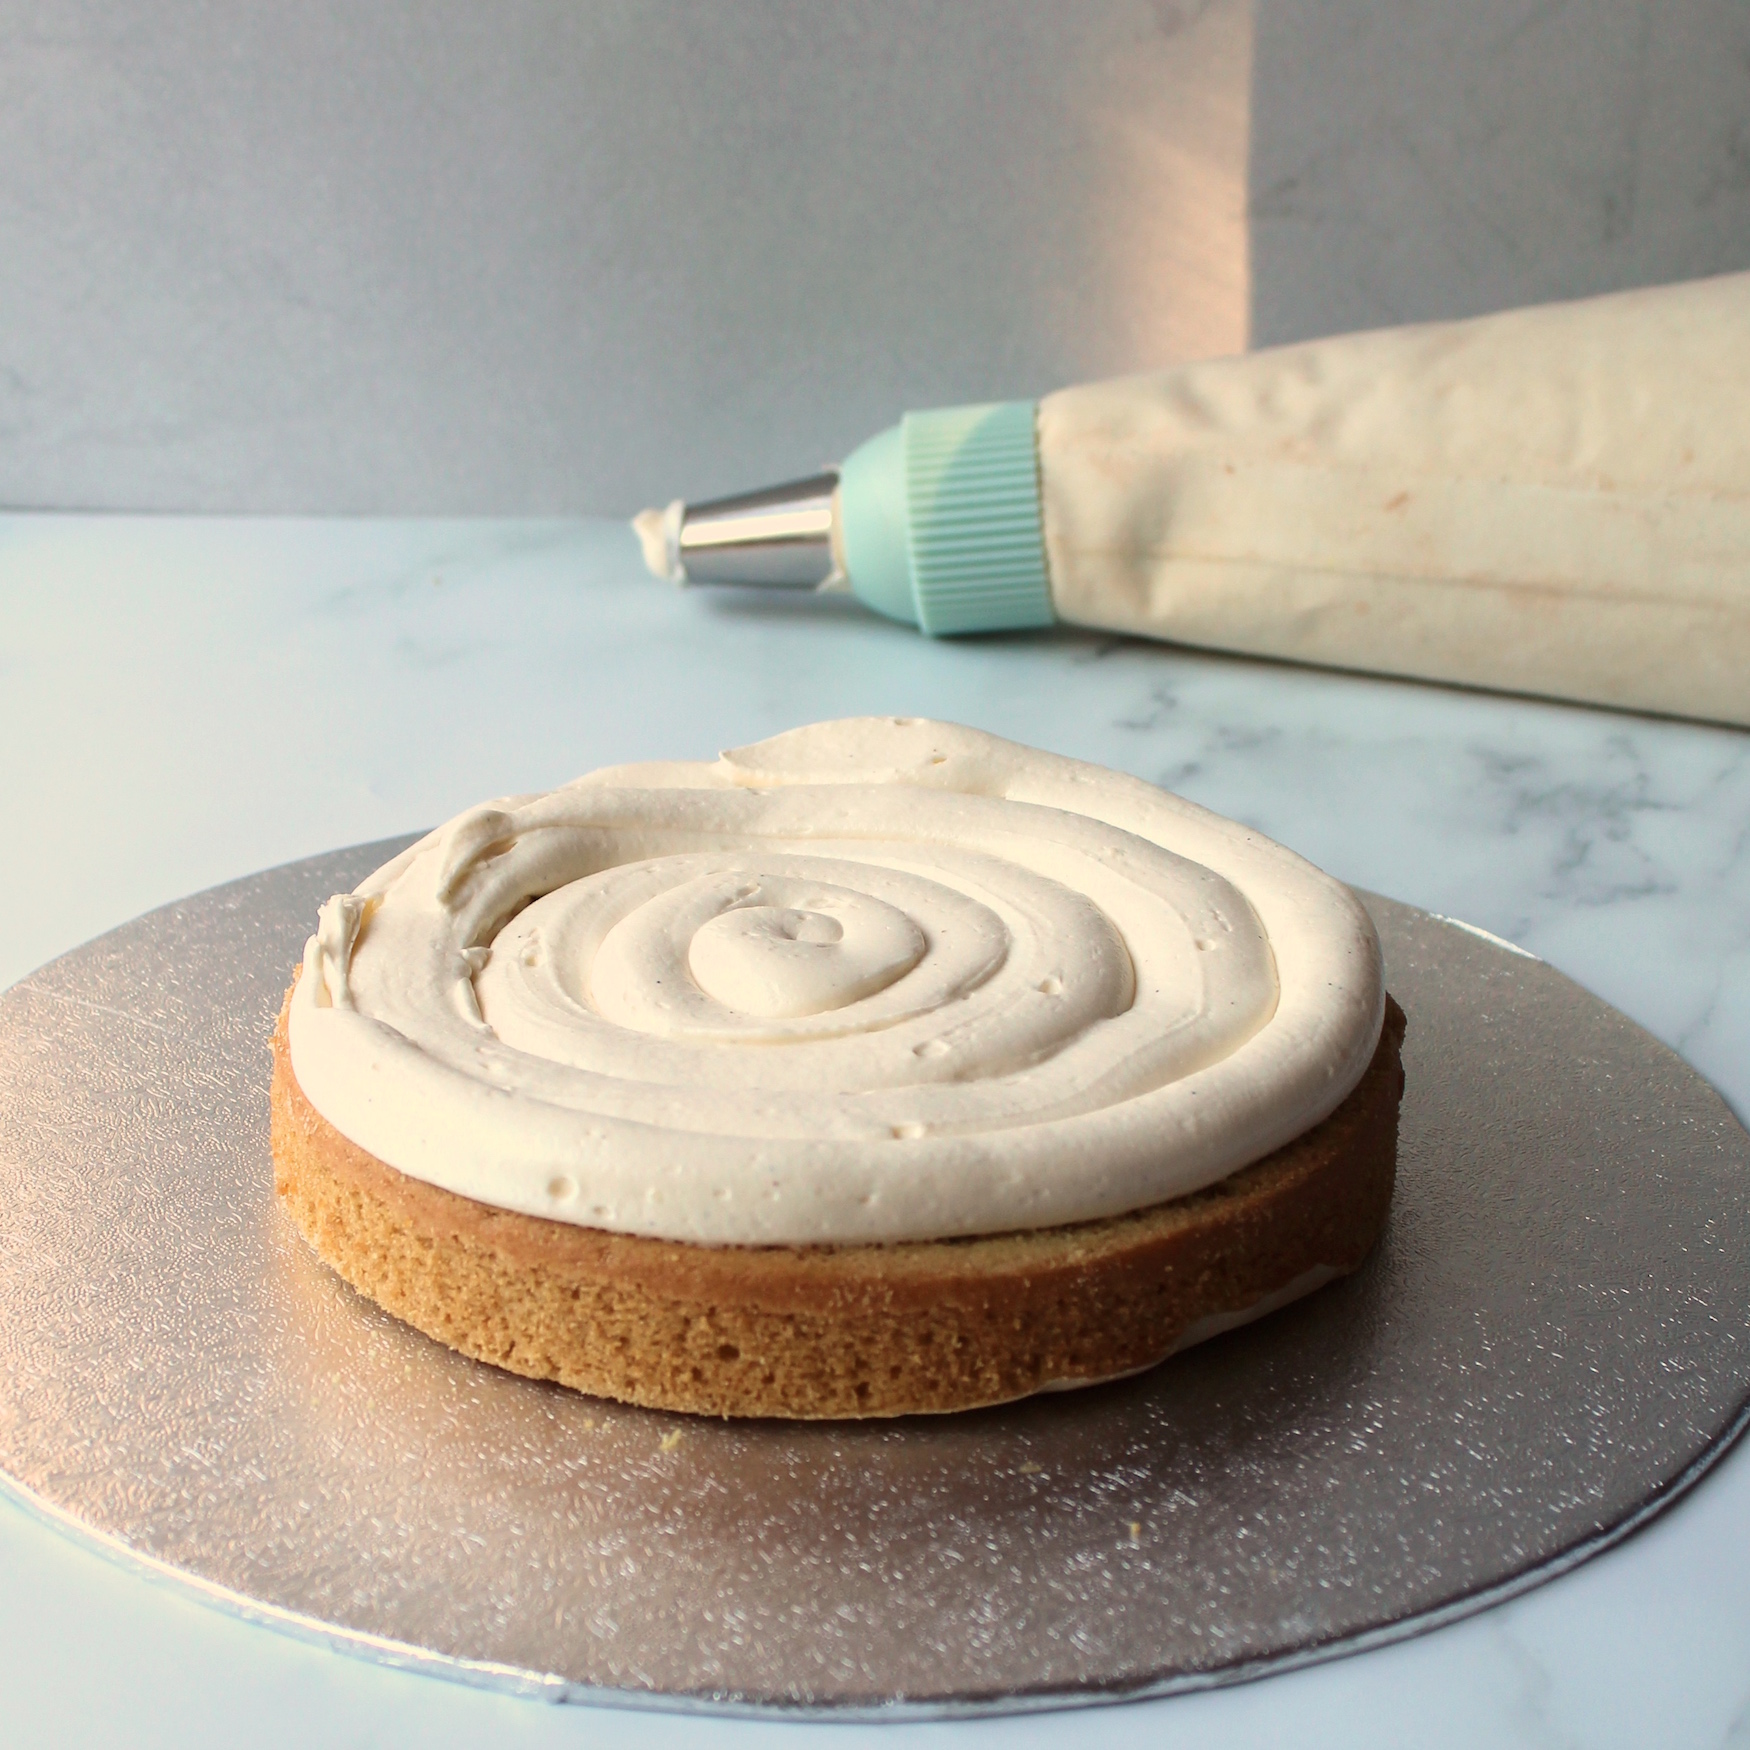
- Step 13 Remove the parchment paper from the first cake and place on a cake board/stand. Add any jam/sugar syrup if desired. Pipe buttercream onto the first layer, spiraling out from the center.
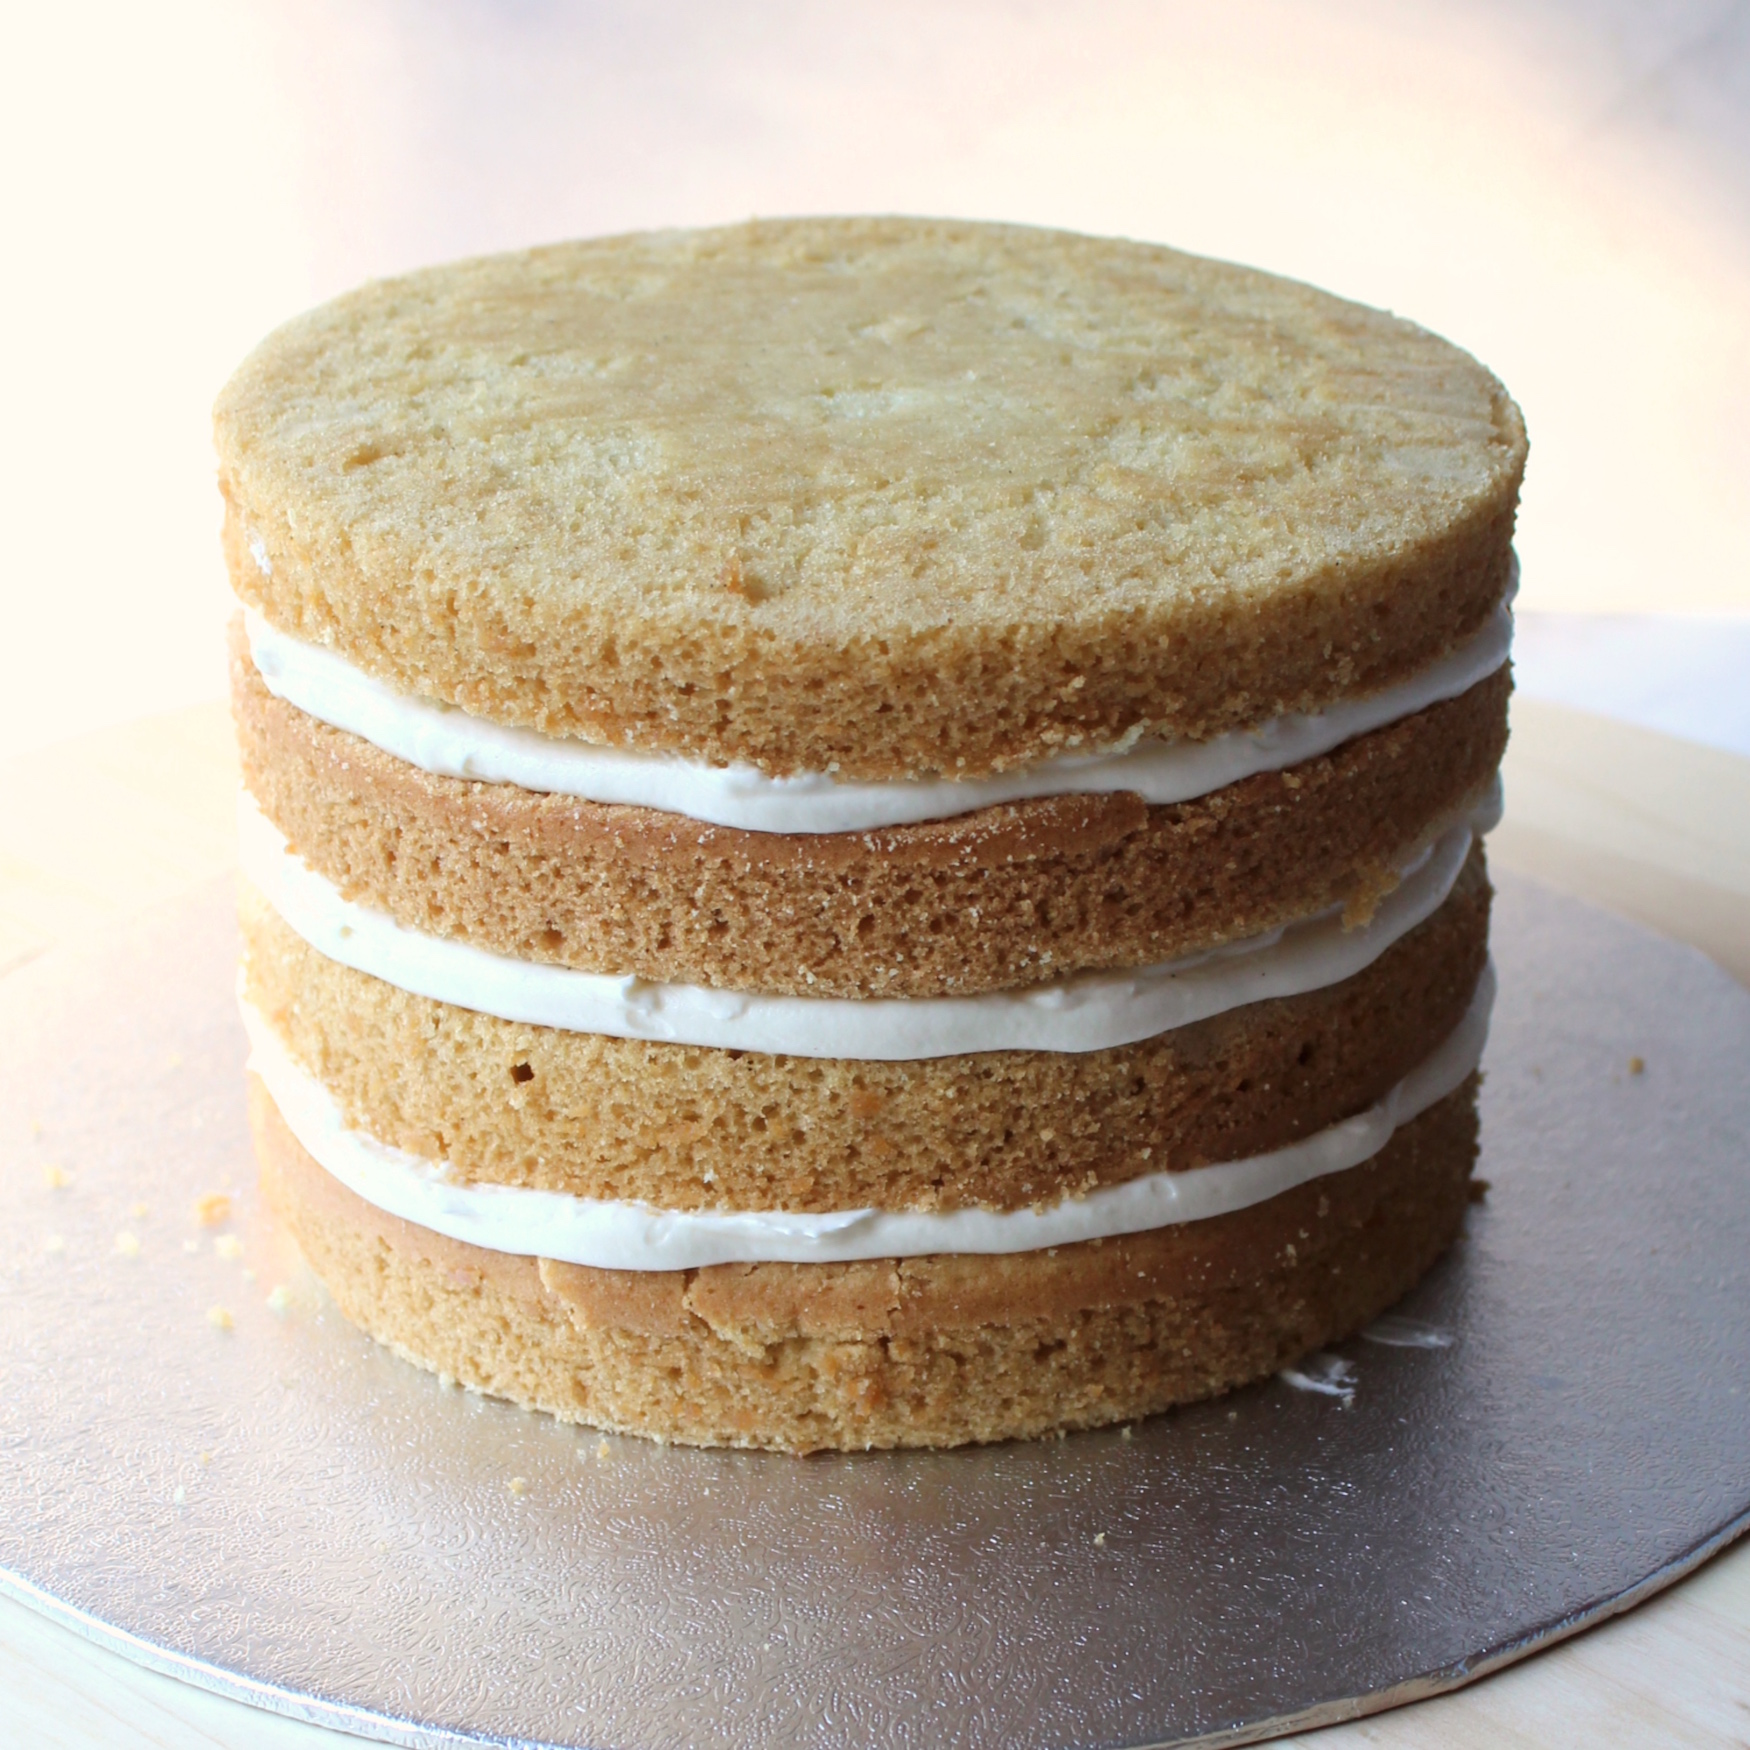
- Step 14 Place the second layer of cake on top and repeat the previous step.
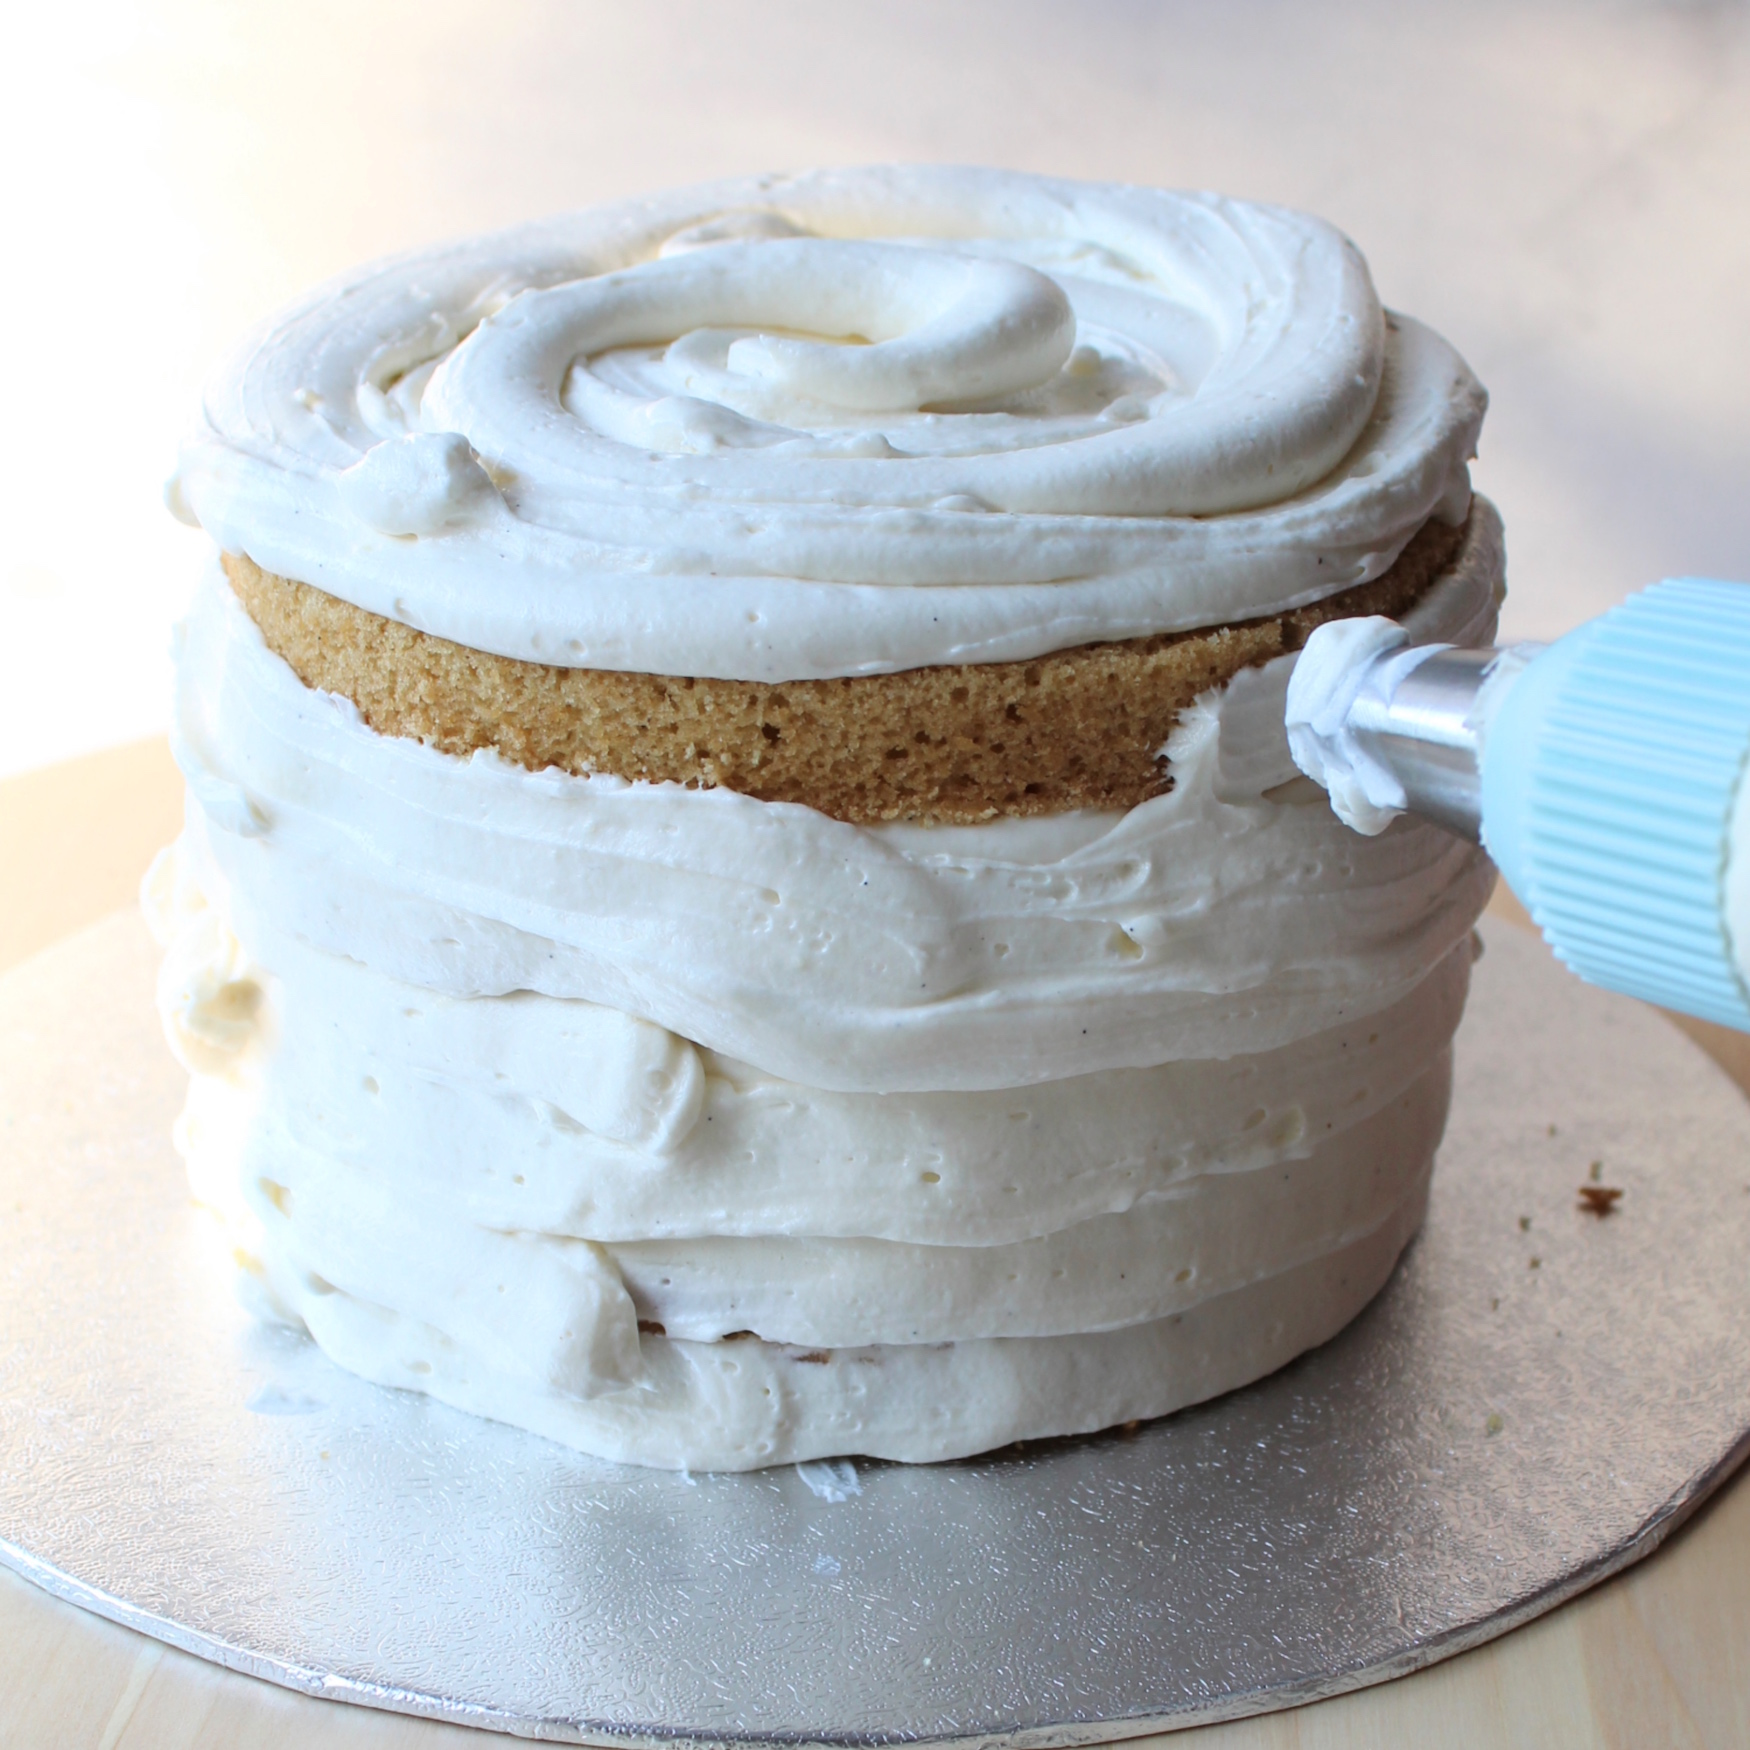
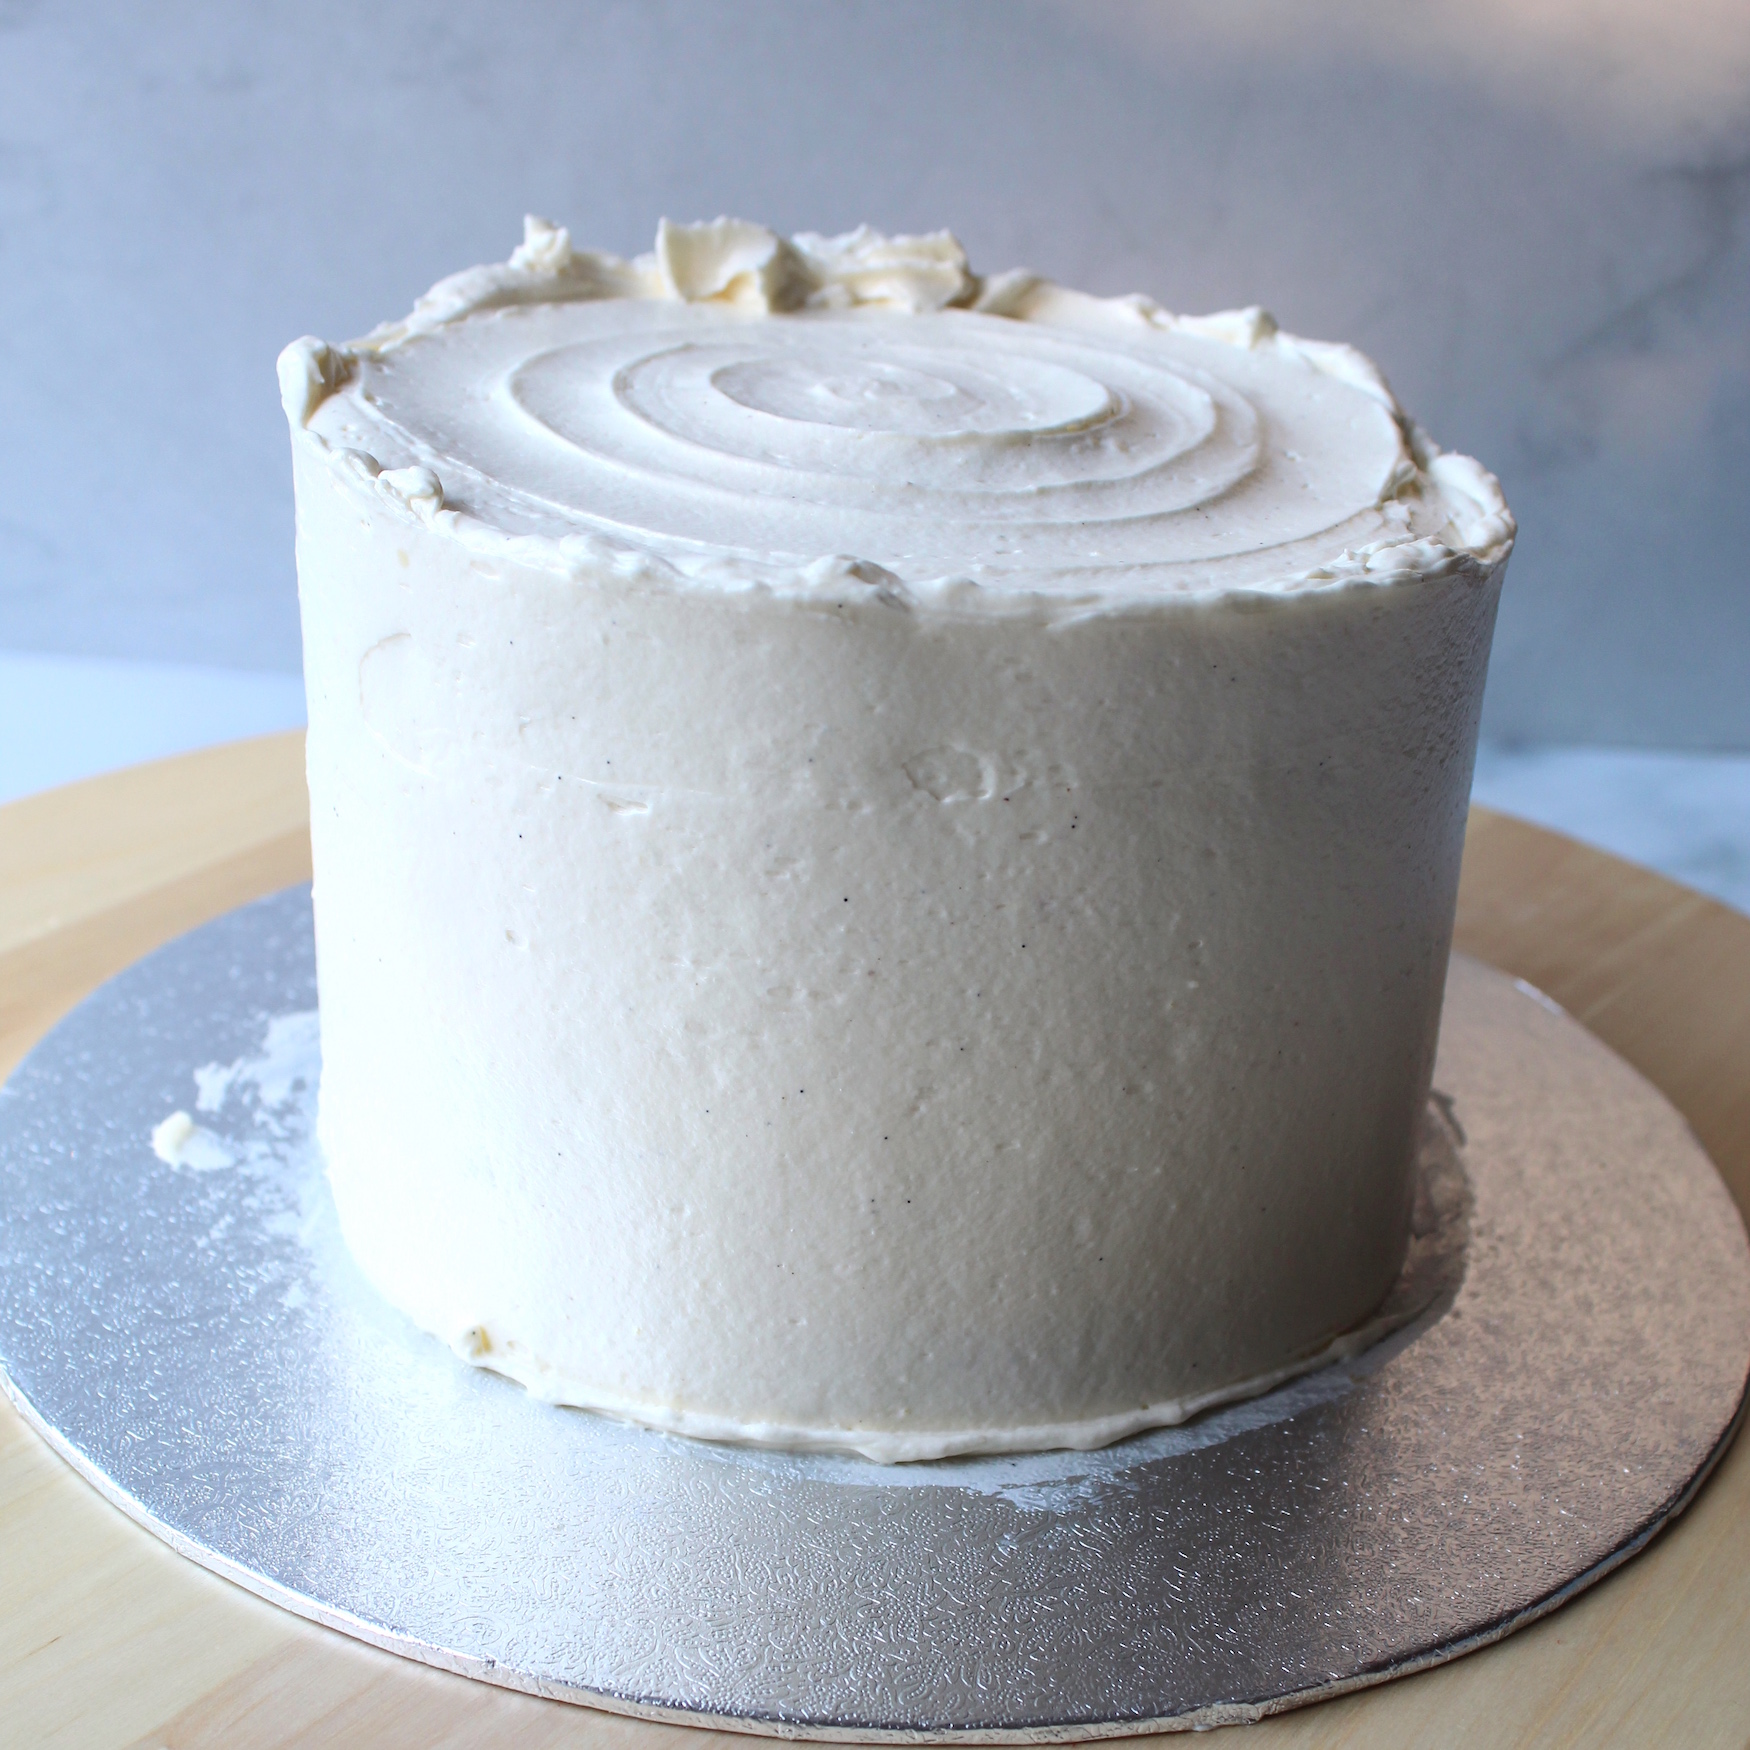
- Step 15 Once fully stacked, pipe a thin layer of buttercream all around the cake, using an offset spatula to smooth it all out. Freeze this cake for 20 minutes. This is the crumb coat.
- Step 16 Take it out of the freezer and pipe the rest of the buttercream onto the cake. Use an offset spatula to flatten all the edges.
- Step 17 Decorate with fresh fruit, chocolate or flowers and serve!

Hi, I’m considering making this for a vegan friend’s birthday. I’m going to make a 3 layer 6-inch cake. I just want to make sure that the baking time is correct. I thought you were supposed to bake longer for a 6 inch cake because it has more depth, but your instructions say “Bake for 35-40 minutes… If you’re using 6-inch cake plans then bake for 25-30 minutes.” Is this right?
This truly is foolproof. I use this as a base for all my sponge cakes now and honestly you cant tell the difference.
The vegan cakes I made before discovering projectveganbaking were good, but often dense and stodgy. Not the case with these ones.
used 1.5x the recipe to make huge sheet cake for an upcoming party and its turned out great
Hi! How many cupcakes would this recipe make?
Can this cake be frozen for a few days and then filled decorated?
Yes as individual layers! Move them to the fridge a couple hours before stacking/decorating for it to defrost a little.
trying this recipe today as mini cakes, super excited!
Can I use the same amount of coconut sugar in this recipe?
Hi Can I use cake flour for this recipe to make it softer and fluffier?
Hi! Yes absolutely!
Hi there. I have tried so many recipes and methods for vegan buttercream (not tried yours yet) and I just can’t seem to find a smooth/silky enough texture for coating a cake to leave a flawless finish. I have heard that adding shortening can give an unpleasant taste so have not tried this yet. Do you find a taste difference at all?
Also, is Trex ok for your recipe please?
Thanks very much for your help.
Hi Mandy! I understand your frustration. I have found that vegan buttercreams are tricky because the recipe is almost irrelevant (you can just use non-vegan recipes), it’s more about finding a vegan butter that behaves similarly to dairy butter. I only recommend using shortening for layer cakes as it makes the BC a lot sturdier. Otherwise it really adds nothing else. If you’re going to try the shortening, I would suggest the Crisp n dry block because it’s completely neutral (found in Sainsbury’s). I would also recommend focusing on the methods, in particular using only paddle attachments for beating and then manually stirring it with a spoon afterwards to knock out all the air bubbles. Adding a small amount of hot liquid (water or plant milk) to loosen it up can help get a really silky smooth texture too (provided the vegan butter wasn’t too high in water content to start with or it could become too liquid and soupy). Good luck!
Thank you for getting back to me. I have pretty much tried everything. I use only the paddle attachment on low speed and have done my best to knock out all the air using a spatula (not a spoon, which may make a difference?) but have not added hot liquid so will definitely give that a try. Thanks again and fingers crossed 😊
Any time! If you’re still having troubles, I would suggest experimenting with different brands of vegan butter as some of them are a lot better than others! Depending on where you are in the world, I can give some recommendations! Tom
That’s so kind of you thanks. I live in the Uk.
I use Naturli vegan block for most of my recipes. I heard the Flora plant based block is also effective!
This was a fantastic recipe; so easy and clear to follow with no complex ingredients. I used malt vinegar instead of apple cider as it was what I had and it did the job without affecting the taste. I also added a lemon and basil syrup glaze and which worked beautifully with the vanilla flavour of the cake. I’ll definitely be saving this recipe to make again! 🙂
Hi Leila! That sounds absolutely wonderful. So glad you liked it!
Amazing recipe! It’s easy to follow and super delicious. I bake in high altitude and the cake came out perfectly, even without adjusting the ingredients to high altitude. (I lowered the sugar from 350g caster sugar to 200g cane sugar and used almond instead of soy milk, but it still worked and came out perfectly) 10/10 would recommend anyone to make this one!
Thanks so much Jacqui! Loved seeing your cake on instagram. Great to know the sugar can be reduced with no issues 🙂
2 questions: 1) Is it ok to use oat milk or almond milk instead of the soymilk? 2) Can I use glass/pyrex square trays (8inch) to bake this cake?
Hi Anna! Sorry didn’t see your comment. I think both of those milks should be fine – I tend to only avoid rice milk as it’s very watery. Pyrex square trays should also be okay but just keep an eye on the colour of the cakes. They may bake at a different speed!
Also making now, what stage so I take the cakes out of the tins please? Never cooked a cake before eeek. Smells delicious
Hi! Please leave the cakes to cool for at least 30 minutes before removing from the tins! If you used parchment they should come out really easily!
Making this now!! I only have golden caster sugar is that ok?
Absolutely fine! It will make the cake a little darker in colour though!