Hi baking friends!
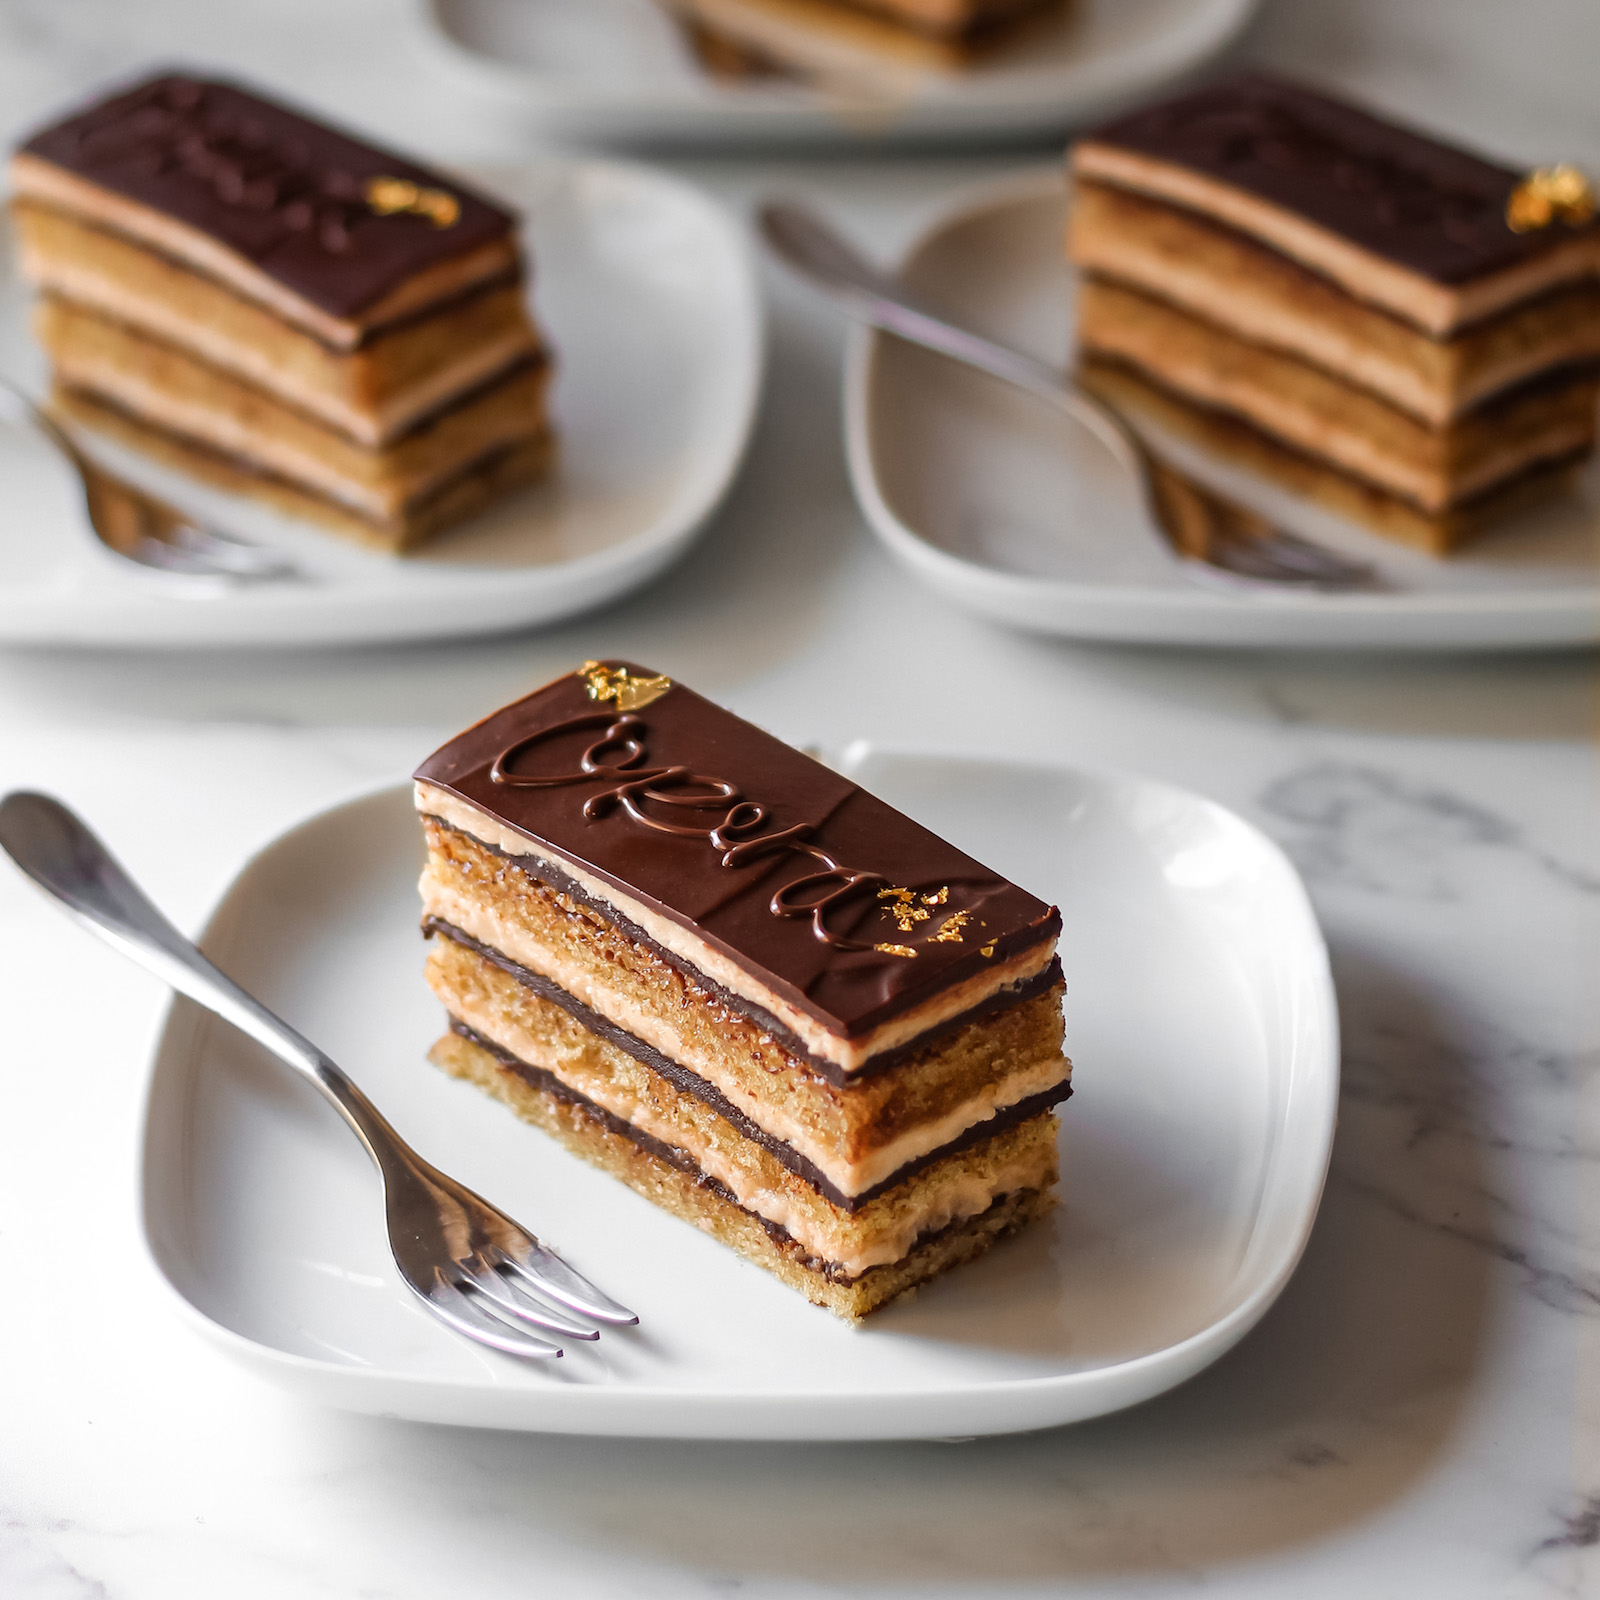
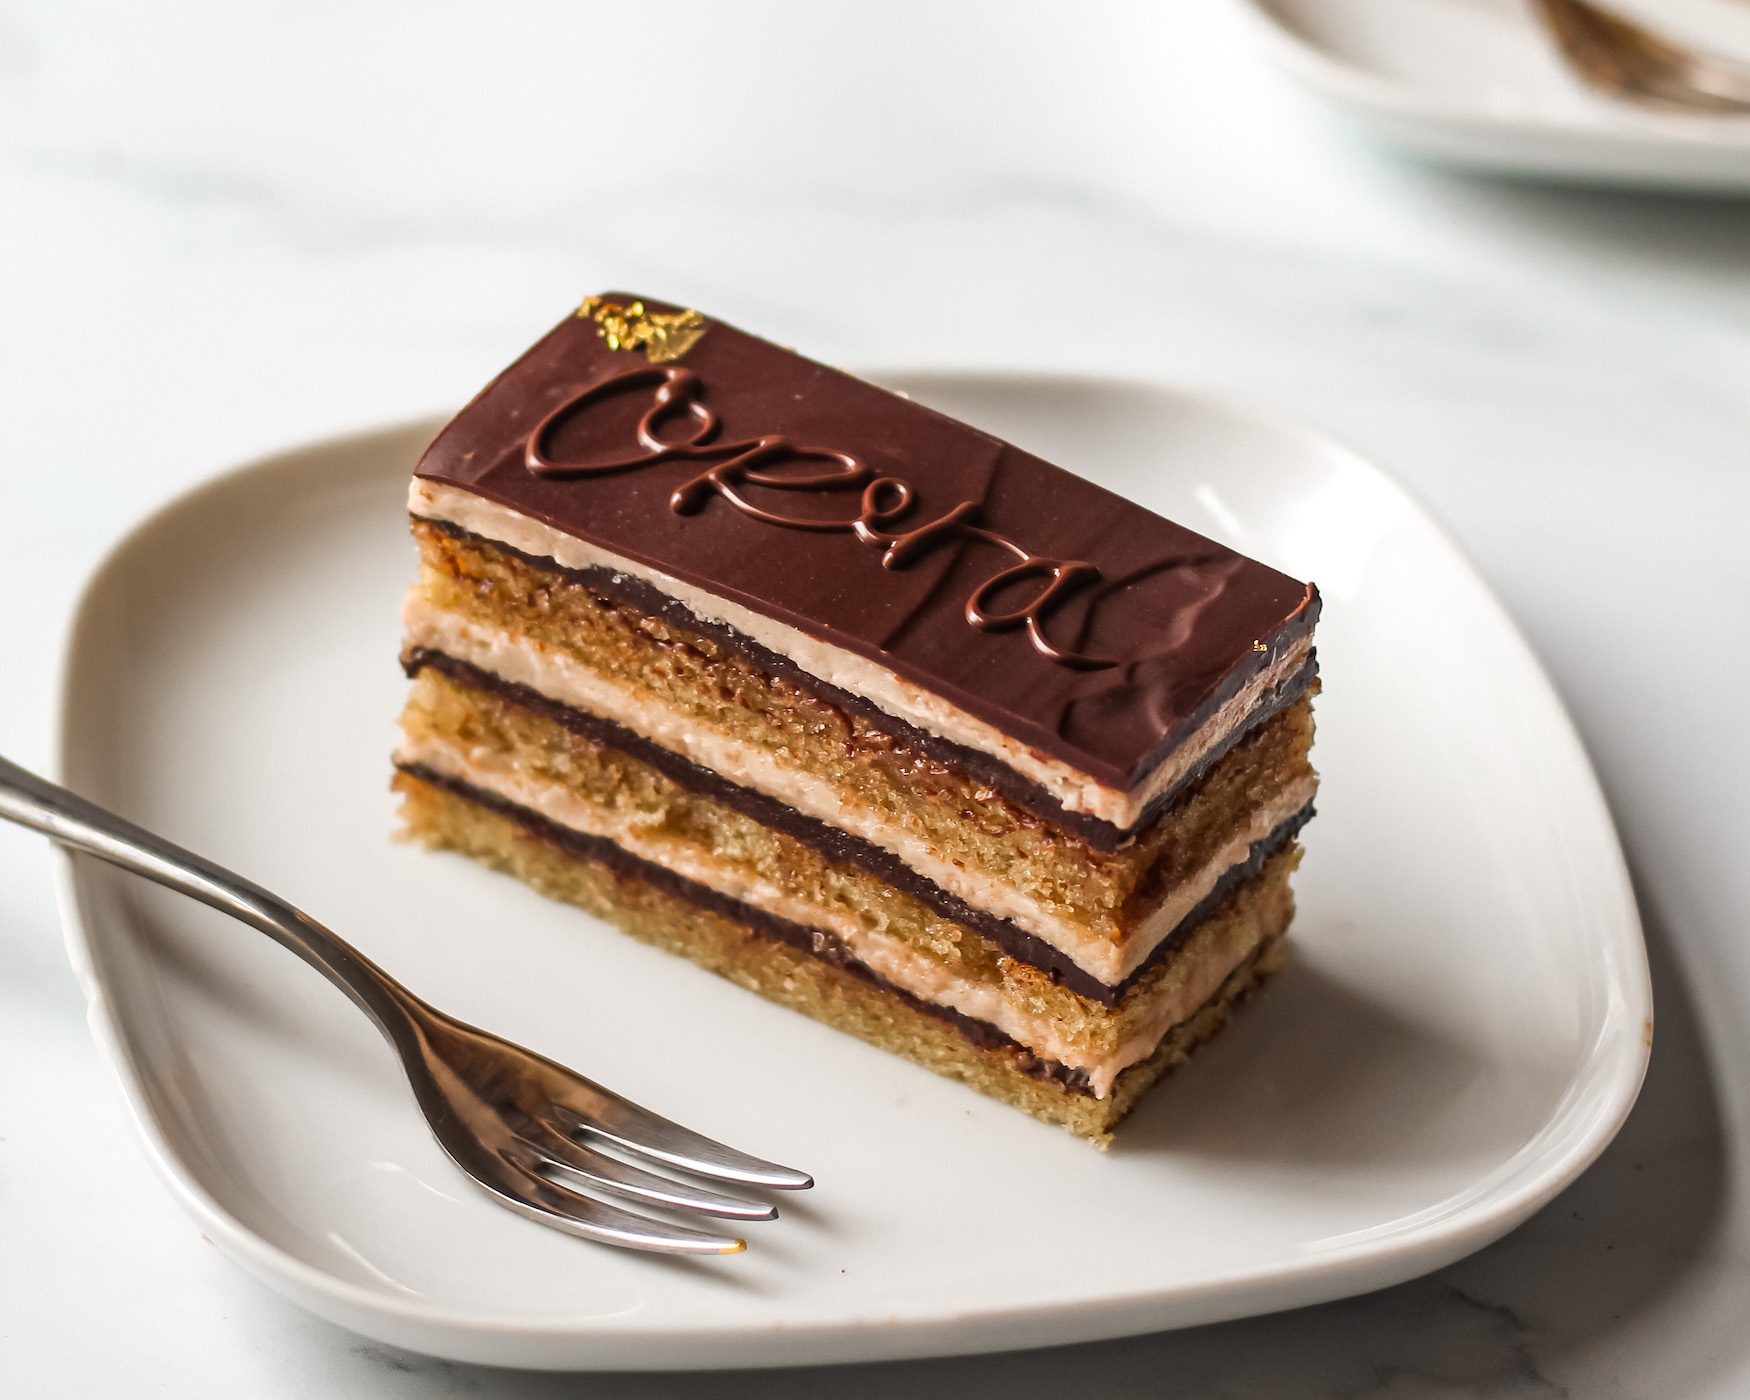
I’ve got an exciting recipe for you today – vegan opera cake! This is one of my all-time favourite desserts! Layers of delicious coffee-soaked almond sponge cake sandwiched between silky buttercream and rich chocolate ganache. This dessert might sound difficult but I personally think it’s one of the easier pâtisserie-style cakes to make, especially with this recipe that I’ve simplified for easy home baking!
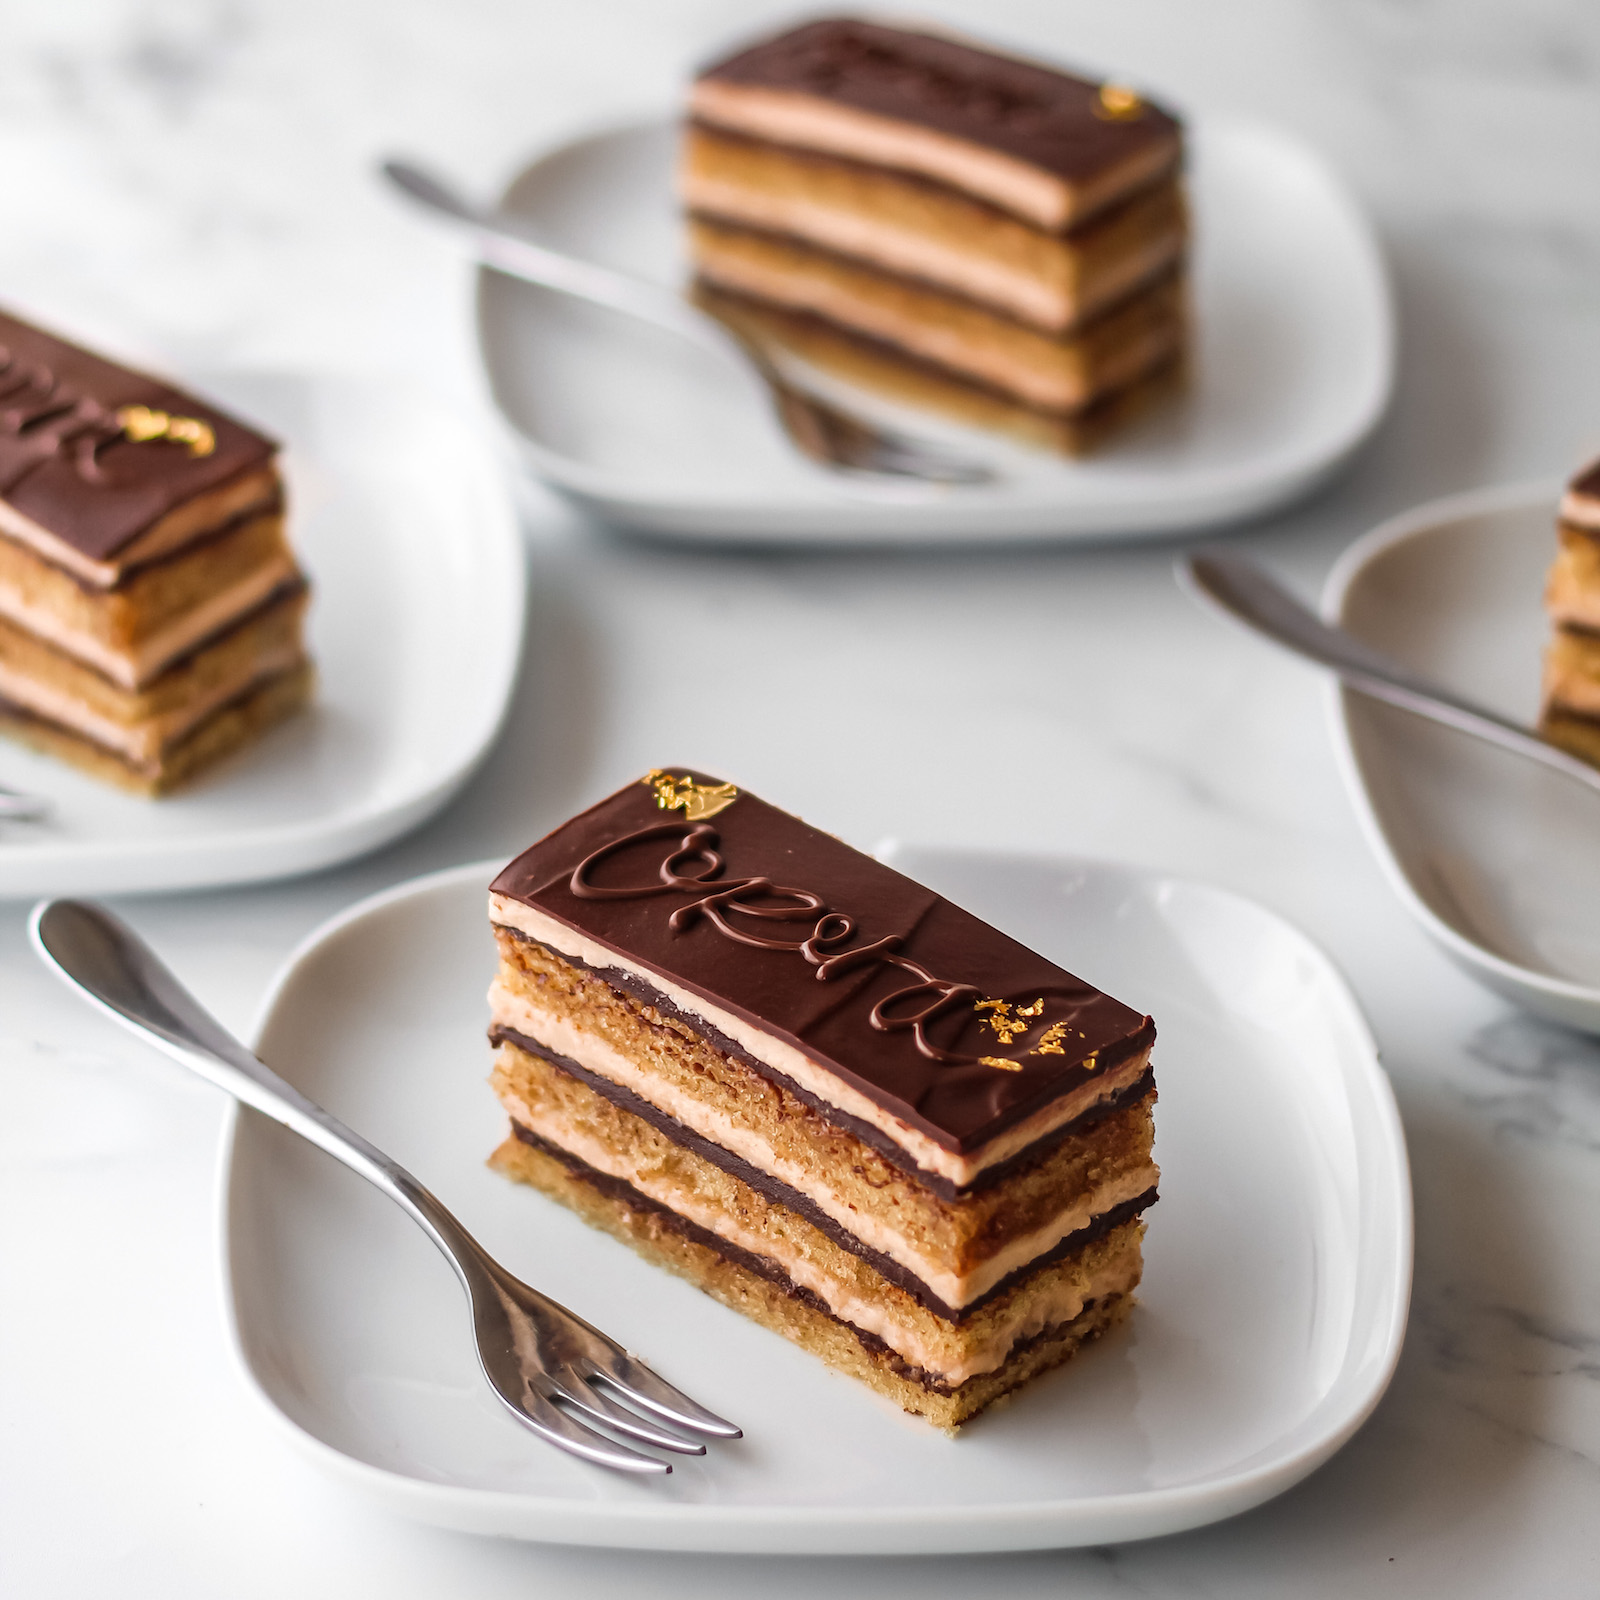
Before I jump into the recipe, a quick apology to French readers – I apologise in advance for butchering the classic Gâteau opéra! The very nature of vegan baking requires extensive re-working of classic methods and ingredients so I’ve taken the liberty of making some small changes to make this recipe easier but hopefully still authentic!
Opera cake typically includes a French buttercream which involves egg yolks. Unfortunately there’s no quick replacement with vegan baking so I’ve opted for a classic American buttercream. If you want something a bit more light and sophisticated then feel free to borrow my swiss meringue buttercream from this opera cake I made last year!
The next element of the cake is the layers of almond sponge cake (Biscuit Joconde). Typically this involves folding whipped egg whites into the other cake ingredients to create a light airy sponge. It is possible to achieve this effect with aquafaba but it’s much harder than using egg whites so I’ve instead used a simple almond cake recipe that uses standard leavening agents for airiness.
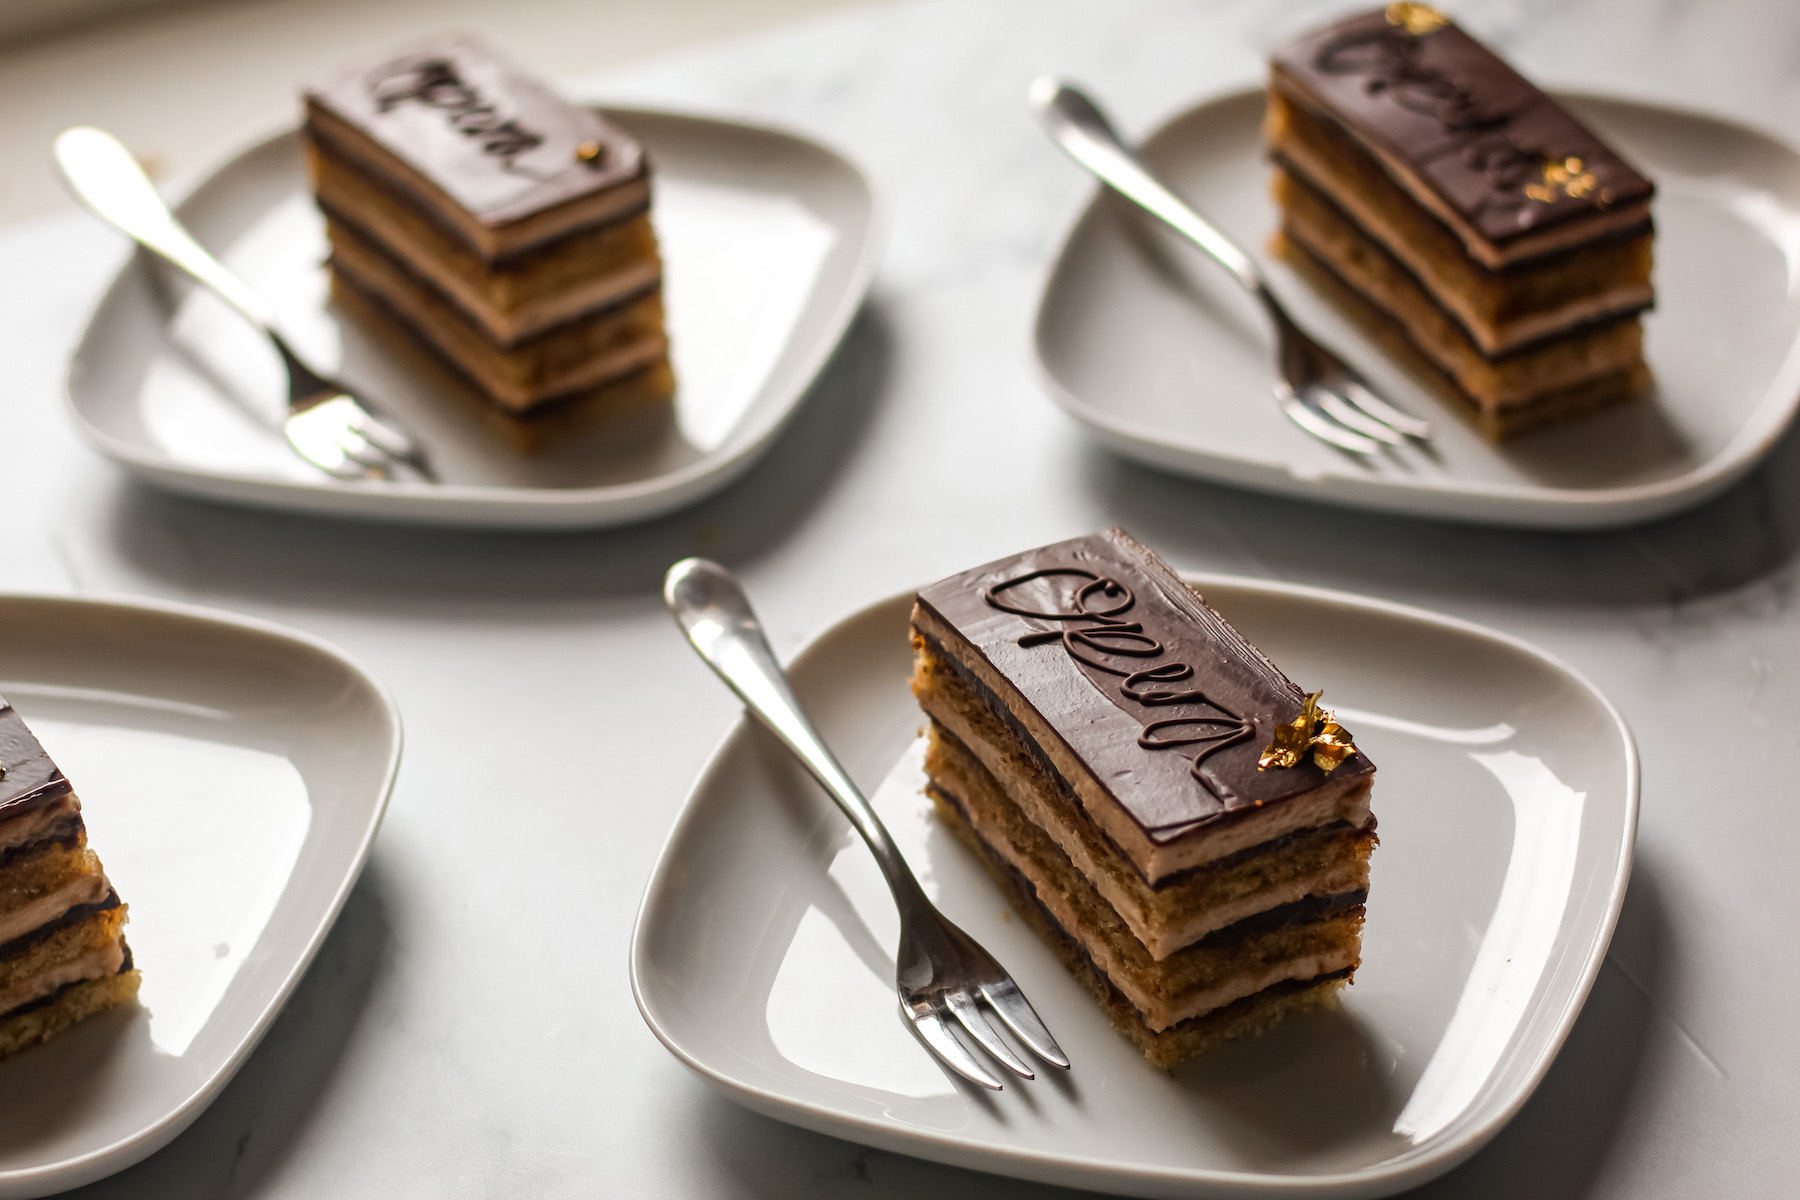
This recipe is certainly not easy but I think it has that wow factor and it’s definitely worth the effort!
Some final notes on the ingredients used in this recipe:
I have mentioned in the ingredients list to use organic soy milk with no additives. From experience, it’s a lot safer to use a plant milk with no additives because they can interfere with the chemistry of the bake.
Lastly, when I mention “vegan butter” I refer to any plant-based margarine/spread that contains at least 75% fat. Any less and the water content will be too high for the buttercream.
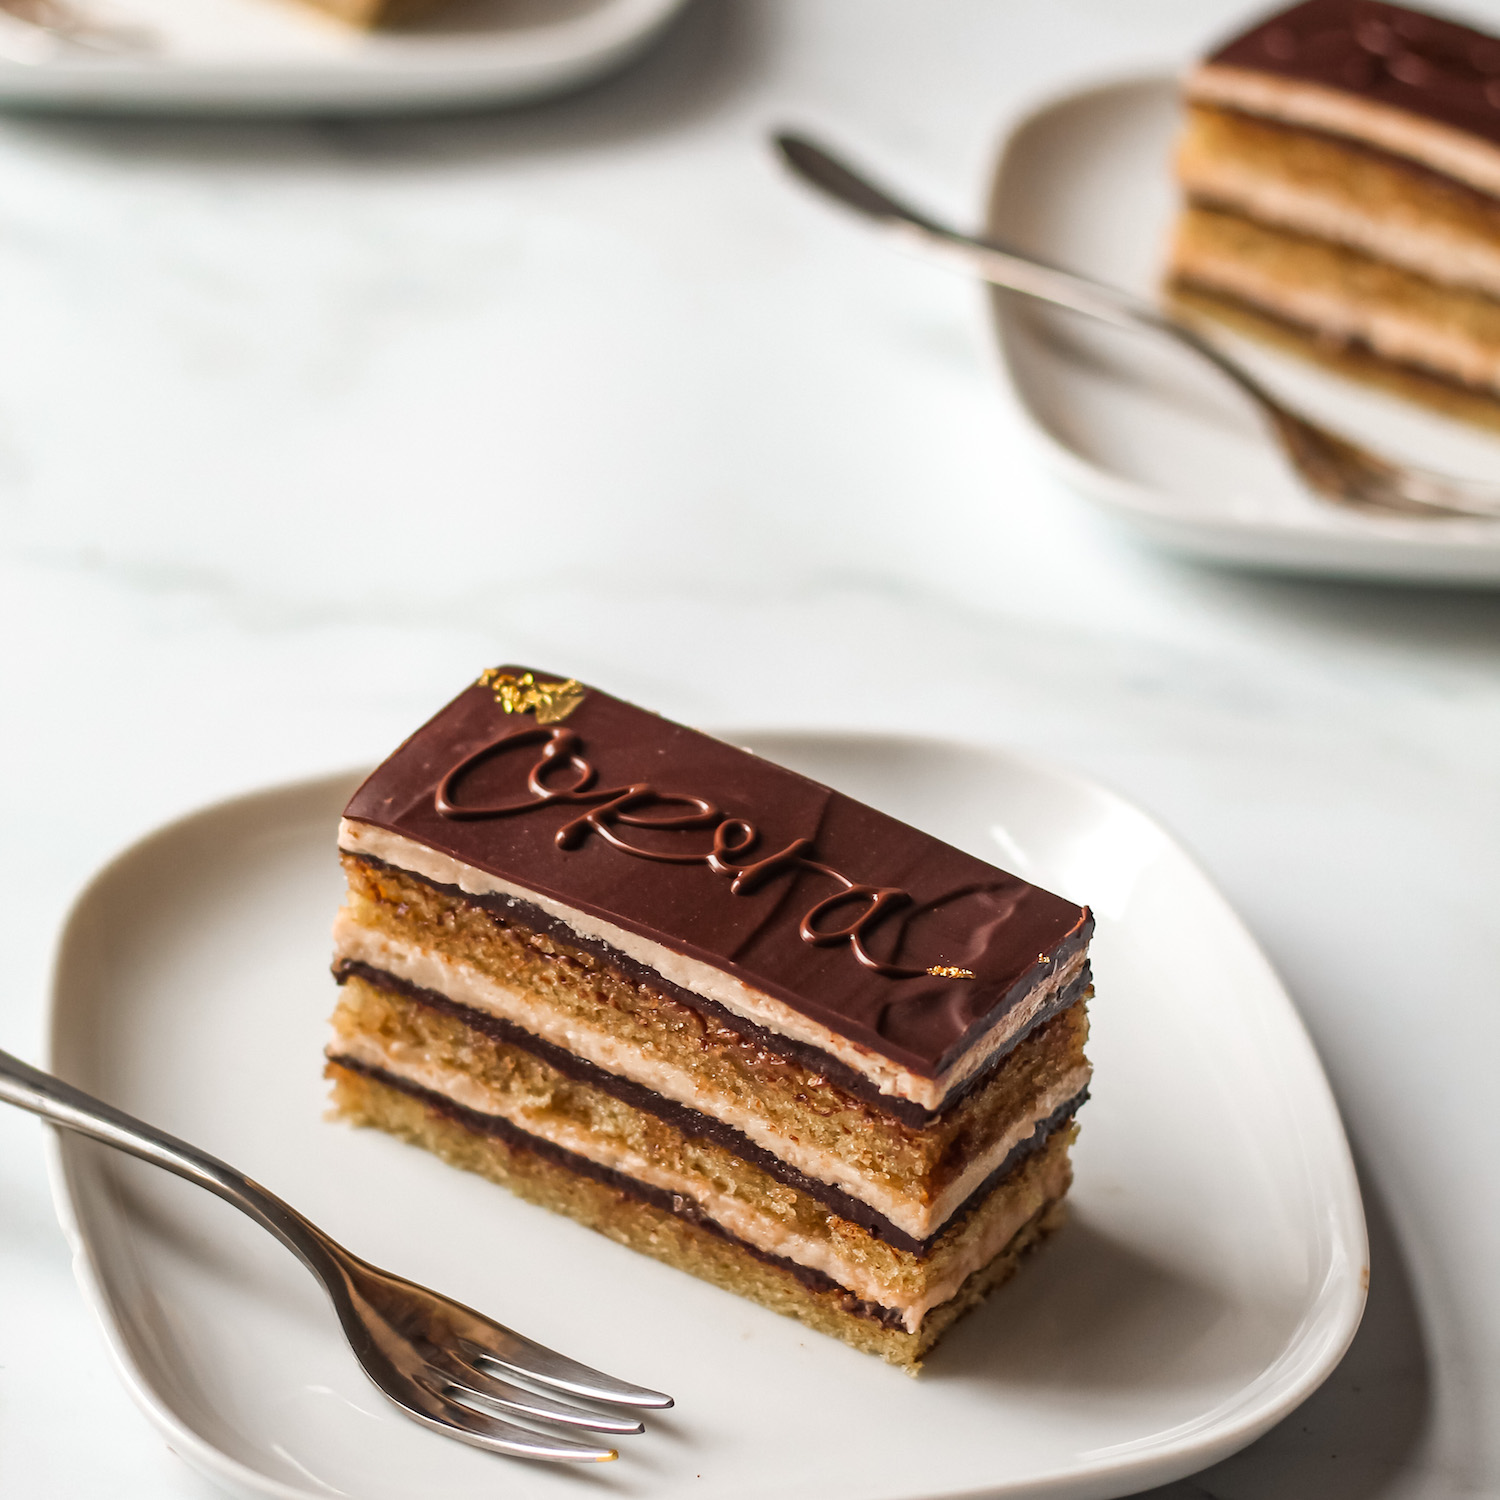
For this recipe you’ll need:
- offset spatula
- stand mixer/electric whisk (ideally with paddle attachment)
- 9×13″ baking tray
One final important note: the sponge cake recipe below will yield two very thin layers of cake across two 9″x13″ baking sheets (ideal for an opera cake as we want really elegant thin layers). Since we will be cutting the sheet cake into 3 strips, this recipe technically can yield 6 thin cake layers. However, the Opera cake in my photos only has 3 layers and the buttercream/ganache is designed to be enough for 3 layers. When I make this cake I like to focus on one perfect layer on a baking sheet and then use the remaining batter on the second sheet as “back up”. Part of the appeal of an Opera cake is having flawless, even layers so having “back up” layers means you can pick the most even and smooth layers for construction (and I always eat any leftover cake!!) If you’d like to do more than 3 layers of cake then just multiple the buttercream/ganache recipes by x1.5 or x2.0!
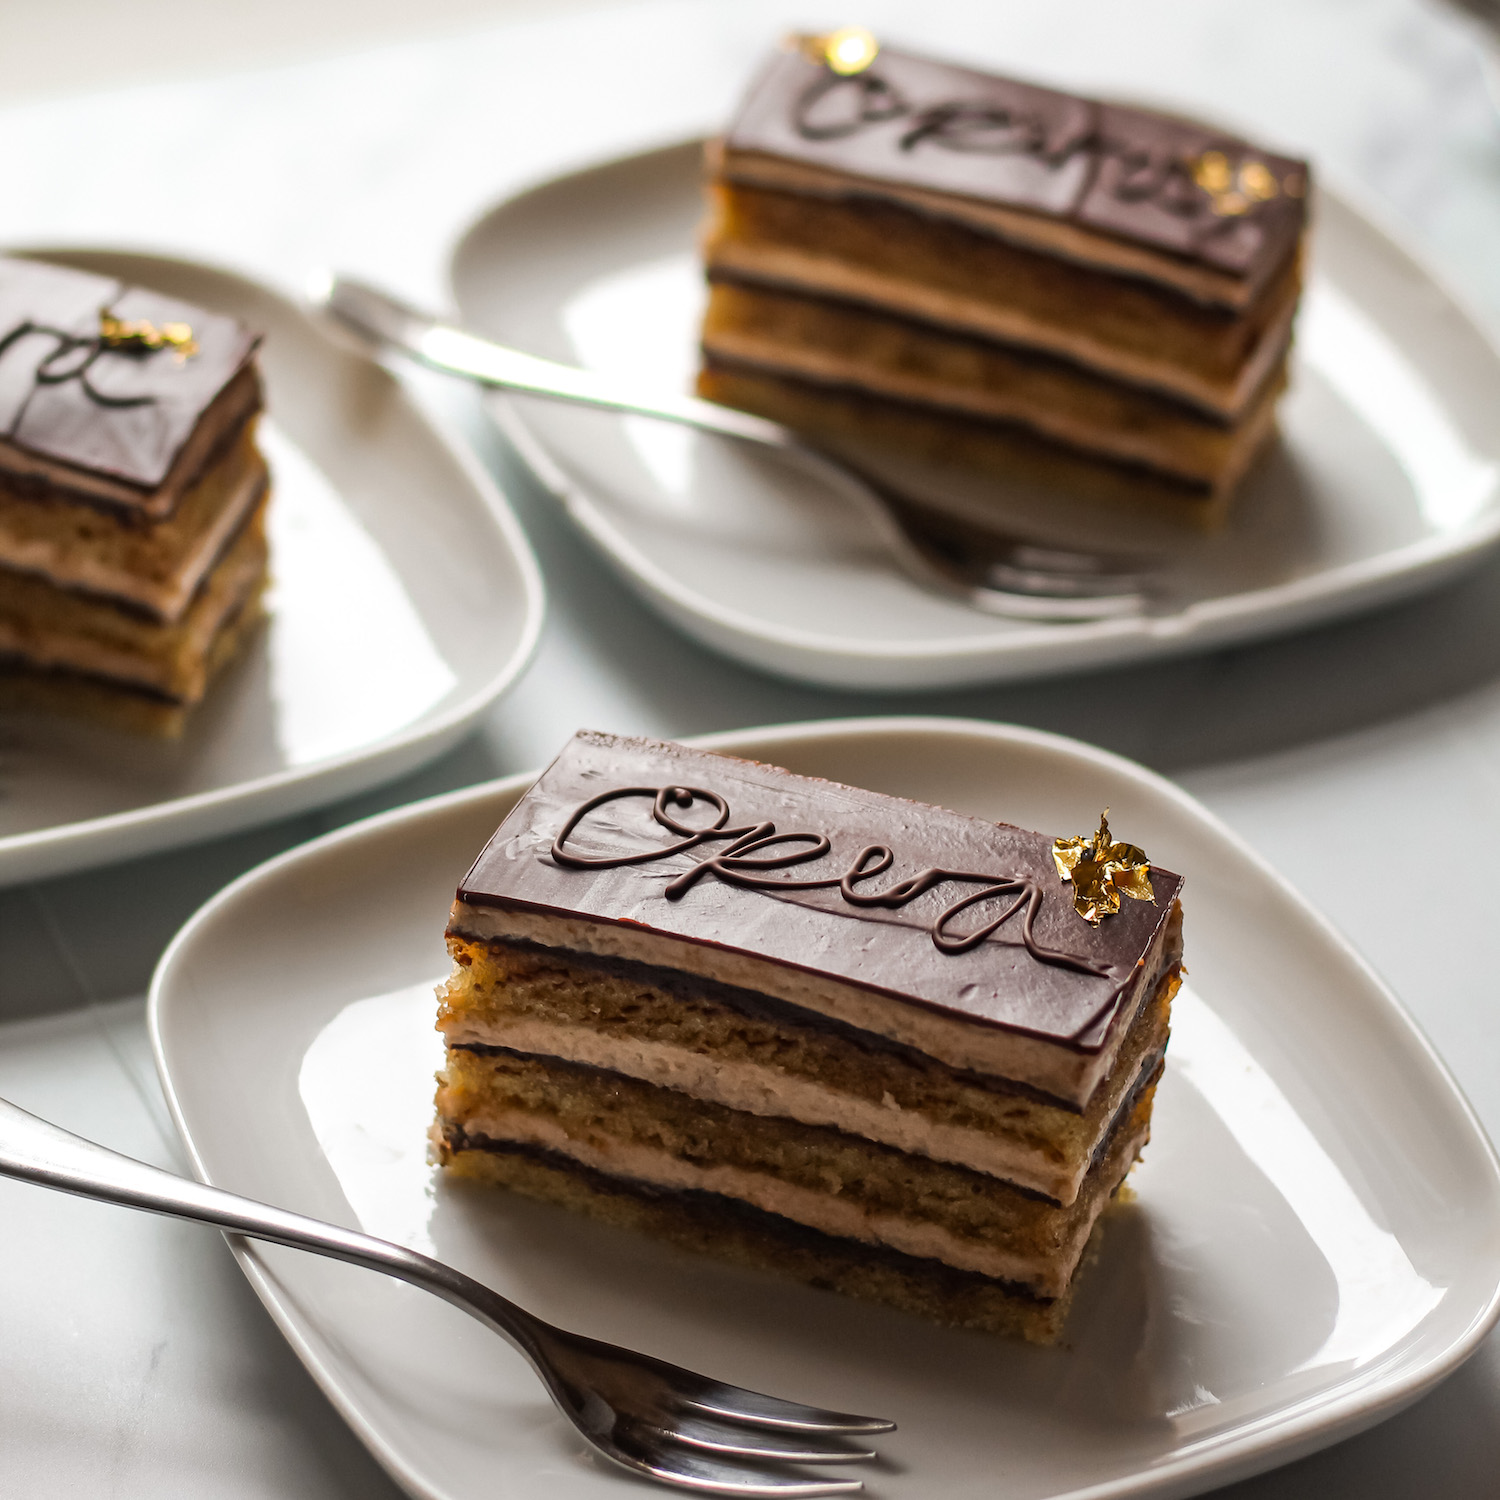
Vegan Opera Cake
A delicious vegan creation of the classic Opera cake. This vegan opera cake is made up of decadent layers of chocolate ganache, silky buttercream and coffee-soaked almond cake. Finished with a touch of gold leaf!
Ingredients
- Almond cake:
- 180g all-purpose flour
- 40g almond flour
- 160g caster sugar
- 250 ml organic soy milk
- 2 tsp apple cider vinegar
- ½ tbsp baking powder
- ½ tsp baking soda
- 75g vegetable oil
- 1 tsp almond extract (optional)
- pinch of salt
- American buttercream
- 200g vegan block butter, room temp
- 300g icing sugar
- 1 tbsp vanilla bean paste
- 1 tbsp strong brewed coffee (or 1 tbsp instant coffee + ½ tbsp hot water)
- Chocolate Ganache:
- 300g dark chocolate
- 250ml soy cream
- Coffee Syrup:
- 1 tbsp espresso powder
- 100ml water
- 80g caster sugar
Directions
- Step 1 Almond sponge cake: Pre-heat oven to 180C (350F).
- Step 2 Line one or two baking sheet pans with parchment, depending on how many layers you are aiming for (see recipe notes in post).
- Step 3 Mix together the soy milk with the apple cider vinegar and set aside for 5 mins to curdle.
- Step 4 Meanwhile sieve and mix together all the dry ingredients (flour, almond flour, sugar, baking powder, soda and salt).
- Step 5 Add the almond extract and oil to the curdled soy milk and whisk together.
- Step 6 Finally, lightly whisk the wet ingredients into the dry ingredients until the batter is smooth (no longer than 30 seconds).
- Step 7 Pour the batter into the baking tray(s). You want the layers to be exceptionally thin so use an offset spatula to smooth it out flat.
- Step 8 Bake at 180C for 12-15 minutes. Use a toothpick to check they are cooked the whole way through. Rotate at the 10 min mark if necessary.
- Step 9 Take the cakes out of the oven to cool for 2 hours.
- Step 10 Meanwhile whip together the coffee syrup by adding sugar and water to a pot on low-heat and bring to a simmer. Once the sugar has dissolved, turn off the heat and mix in the espresso powder. Set aside to cool.
- Step 11 Once cool, spoon the coffee syrup evenly onto the almond cake layer.
- Step 12 Chocolate Ganache: Reserve 50g chocolate and 50ml soy cream for the final “glaze” on top of the cake. Heat the remaining soy cream in a pot on a low-heat and bring up to a simmer. Take it off the heat and add the chopped chocolate. Wait 3 minutes for the chocolate to melt then gently stir until it’s completely smooth.
- Step 13 Allow the ganache to cool until it is a spreadable consistency. If it gets too cool then just heat it in the microwave using 20 second bursts. Spoon the ganache onto a cooled sponge sheet. Use an offset spatula to make sure the layer is completely even. Place the cake into the freezer for 10minutes to chill while you work on the buttercream.
- Step 14 Buttercream: Add the (room temperature) vegan butter to a stand mixer fitted with a paddle attachment (or whisk) and mix until pale and fluffy (5-10minutes).
- Step 15 Sieve in the icing sugar and mix until fully incorporated. Finally, add the vanilla and coffee and mix until smooth.
- Step 16 Final Construction: Pipe or spoon the buttercream onto the sponge + chocolate layers. Use an offset spatula to flatten the layers perfectly.
- Step 17 Chill the cake in the freezer for 20 minutes (or the fridge for 1 hour). Warm a knife in a bowl with warm water, dry off the knife and then cut the cake into 3 rectangles. Use a ruler to make sure they are all the same size.
- Step 18 Stack all 3 layers on top of each other to achieve the final look. Make another chocolate ganache with the remaining 50g chocolate and 50ml soy cream using the method described above. Pour this glaze over the top of the cake, trying not to let too much spill down the sides (though we will be trimming it later).
- Step 19 Use an offset spatula to get a smooth finish on top.
- Step 20 Place the cake back into the freezer for 15 minutes (or fridge for 1 hour) to chill.
- Step 21 Once completely set, use a warm knife to cut around the edges of the cake to get clean layers.
- Step 22 Optionally, melt some additional chocolate and pipe “Opera” onto the large cake piece or cut it into smaller serving sizes and writing smaller versions on those.
- Step 23 Serve!

LOVE this recipe. I made it once for a party with the meringue buttercream as an opera cake, and everyone has raves about it since. I’ve also taken to using this recipe as my annual yule log. It works PERFECTLY. Wish I could share pics!
I wanted you to know that I made this last night and it came out PERFECTLY!!! So good!
Any idea why my cake cracked after I pulled it out? It was solid after I pulled it out but when I looked at it the next day it cracked. I share a professional kitchen so someone might have moved it or done something to it but I’m not sure.
Step 12 Is missing!
This cake is SO GOOD. Although there are several different elements to make, the instructions are super clear and easy to follow, so I didn’t find the recipe too difficult. I can’t wait to make it again for guests. Thank you so much 🙂
This is the best cake I’ve ever made! I have Celiac as well as being vegan, so baking is usually really really tough. But this one was absolutely incredible! It went so well and my family totally loved it! The whole cake was devoured in a few minutes! Thank you so much for the recipe!
Also, for any celiac people, here’s the flour combination I used:
90g chickpea flour
45g coconut flour*
45g arrowroot flour
+ the 40g almond flour from the recipe
*Side note: coconut flour is very absorptive, so make sure to add 2 tbsp to the soy milk combination
Good luck!
And thanks again for this amazing recipe!!
Oh wow! THANK YOU!
The mister has been watching Crime Scene Kitchen. When they presented this cake, he said he would really enjoy a vegan version for his birthday (tomorrow). Well, there is a French bakery in a neighboring town, but definitely not vegan. I searched the web and decided to make your version. Your instructions were great and very easy to follow. I ended up making four layers. I made the two 9×13 cakes, then cut in half and stacked them all. The amount of ganache and frosting presented in you recipe was the perfect amount to complete the cake with a good balance of all the layers and very little left over.
Not traditional, but still very excellent!
My absolute pleasure! So glad you liked it. Thank you for the rating and lovely comment!
I made this and it worked really well. It’s not Opera cake, in a traditional sense, but sometimes I get bogged down trying to veganise something when it can’t actually happen using vegan ingredients. Anyway, this was declared the best vegan dessert made by me or anyone else. The non-vegan had it for breakfast the next day. Once it was trimmed, the layers looked impressive. It took a bit of time to work through because I hadn’t made it before, but it’ll be much quicker second time round and there will be a second time! Thanks for the great recipe.
Hi Anne! Thanks so much. Completely agree – it’s definitely not traditional but then neither is most vegan baking because we have to make so many adjustments! So glad you enjoyed it.
This looked so intimidating but wow what an incredible cake for a home baker like myself to make! It’s definitely a lot of steps but I didn’t find it too difficult, and the end result was absolutely worth it. It’s sure to impress and has lots of fun components to it, I’d highly recommend!