Hi friends! Today’s recipe is my interpretation of the controversial red velvet cake! I say controversial because here in the UK red velvet is a very divisive flavour, with many fans but equally many haters. This cake is absolutely delicious and the sweet subtle chocolate flavour of the cake is balanced perfectly with the cream cheese frosting. It is also dairy-free, nut-free and completely vegan so everyone can enjoy a piece!
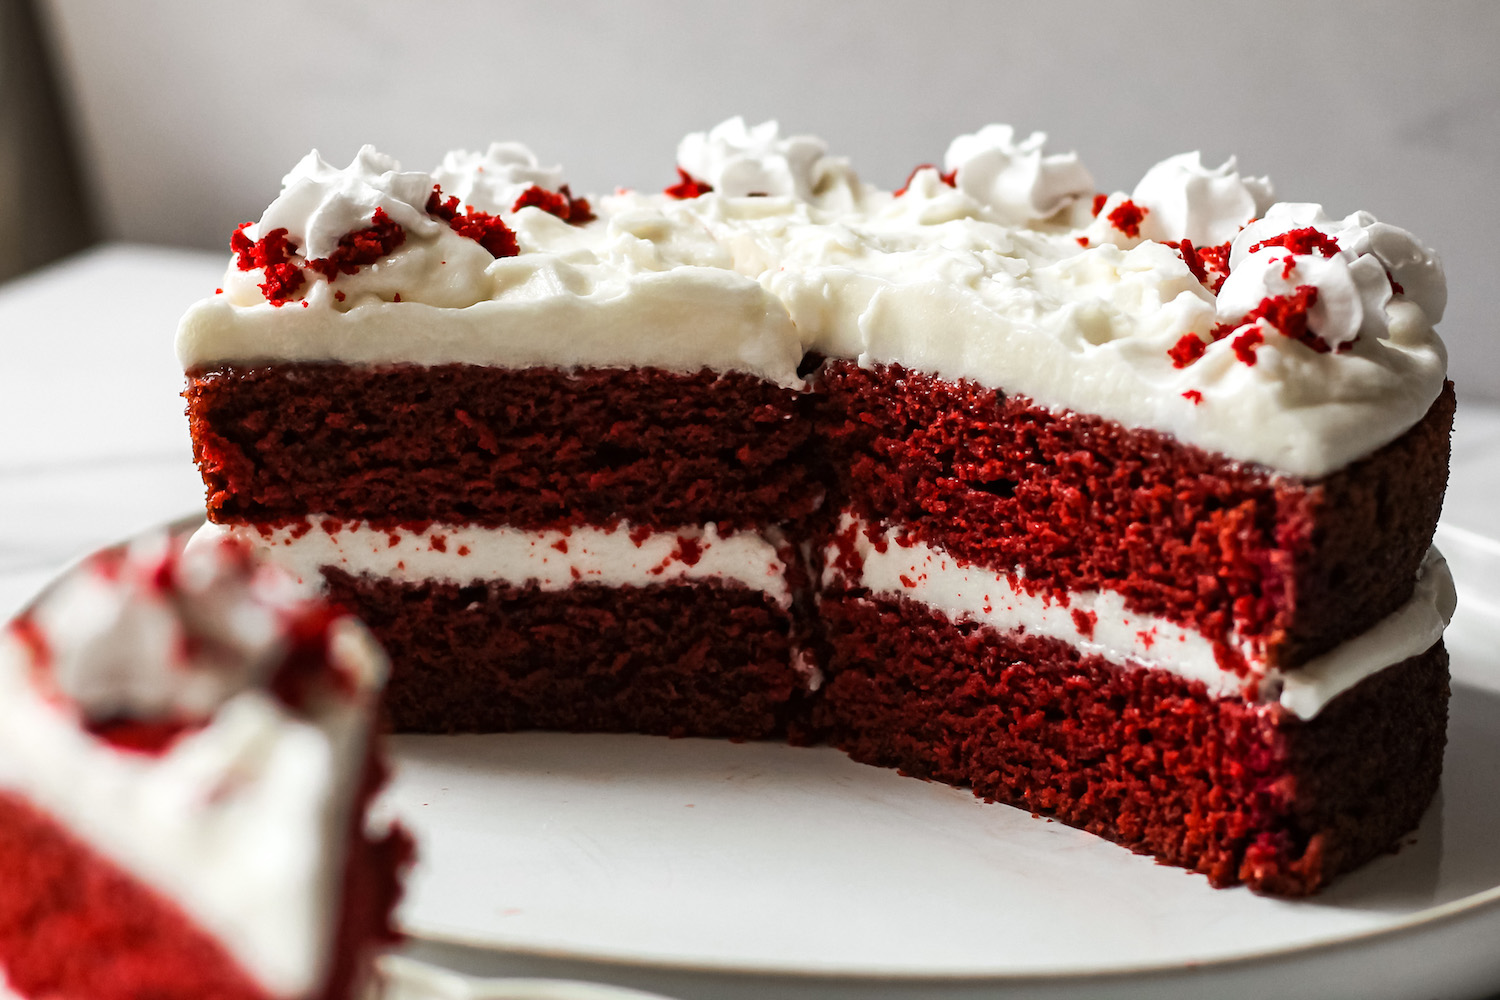
The cake flavour itself is a bit of a red (pardon the pun) herring as it doesn’t taste anything like you would expect. Essentially it’s a chocolate cake with only a pinch of chocolate! If you are not a fan of red velvet then not to fret – check out my other recipes here!
To make this recipe, I adapted my favourite chocolate cake recipe that you’ll find here. Similar to my chocolate cake recipe I don’t use any commercial egg replacers. For easy bakes, I like to keep the ingredients simple and you can achieve the perfect aerated texture using shop-bought leavening agents. To make it red velvet, we take out most of the cocoa powder and add in a load of red food colouring. Be careful to make sure you use vegan colouring because a lot of red colouring is derived from cochineal insects. See a list of all my product recommendations at the end of this page just before the recipe.
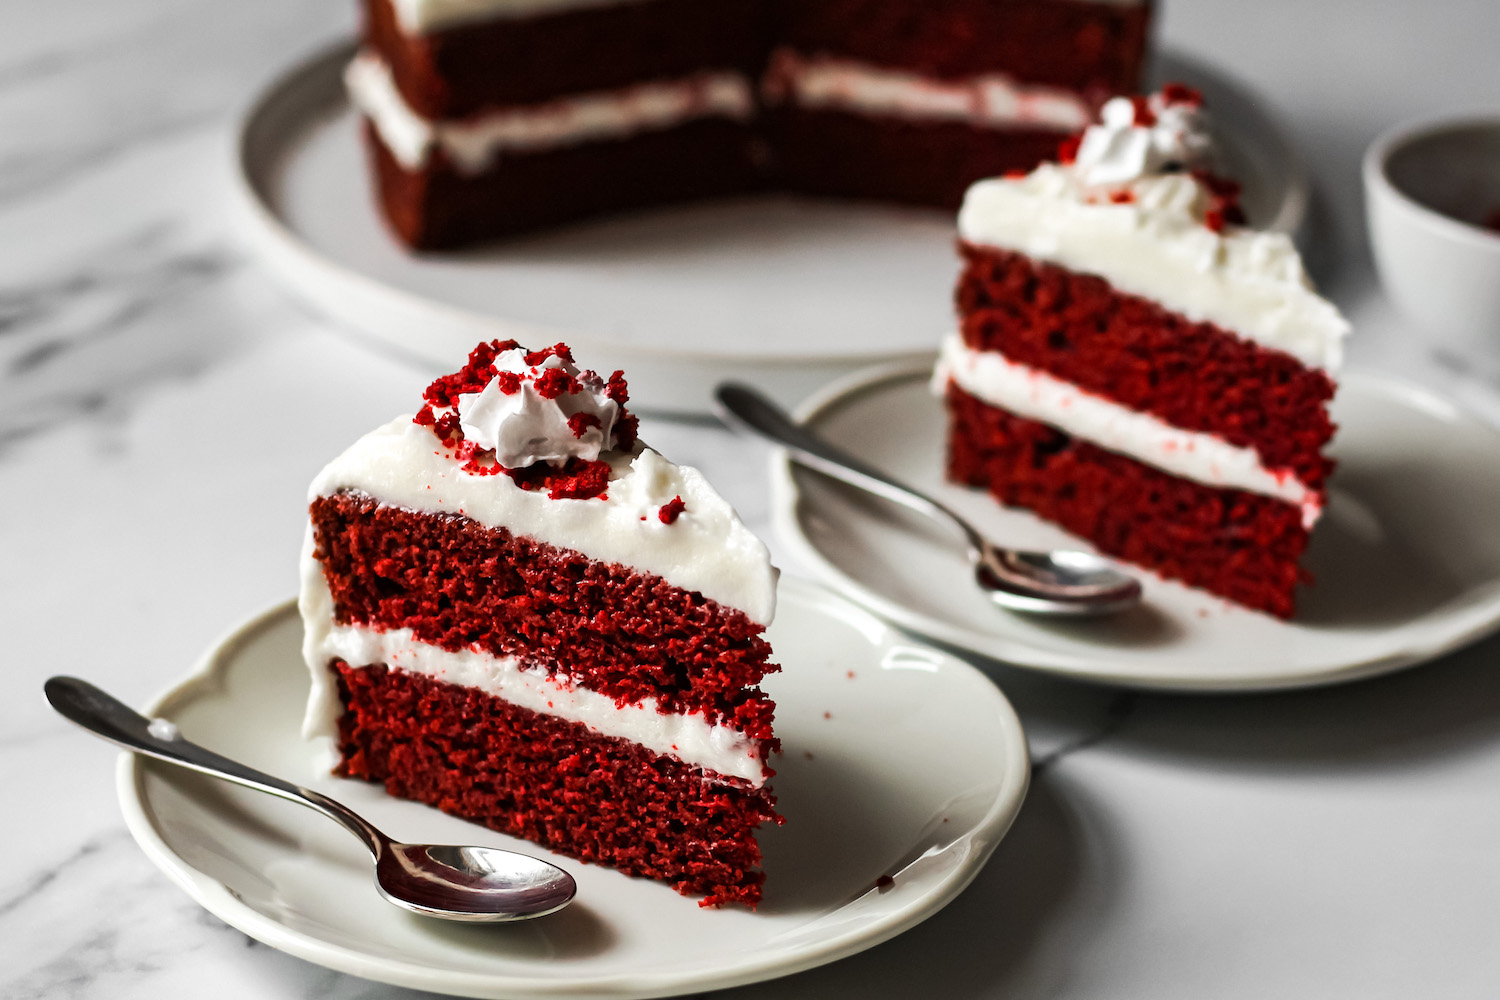
The star of the show in a red velvet cake is the cream cheese frosting. We want the frosting to be as white as possible to contrast with the bold red so we use vegetable shortening and also vegan cream cheese if possible. Vegan cream cheese isn’t always commercially available so I have put vegan butter in the recipe. This will need a pinch of vinegar or lemon juice to make it taste sour like cream cheese. If you do have access to vegan cream cheese then omit the vinegar and just use that. The cream cheese will likely have lactic acid in it, which gives the frosting its signature sour note.
Baking tips:
- I recommend warming the plant milk before you add it to the batter. Any cake batter that includes cocoa powder, espresso powder or spices benefits from warm liquid ingredients being added. This is because the heat brings out the flavour. Also, warm cake batter will cook more evenly in the oven and you’ll get flatter layers.
- This recipe makes two medium sized 8-inch layers. You can also use 3 x 6-inch pans for a taller layer cake but just reduce the baking time slightly
- I recommend using vegan butter as the fat in this cake because butter actually provides some nice flavour to a cake. Since we have removed a lot of the cocoa powder we need some additional support to make sure it’s extra tasty. You can substitute vegan butter for vegetable oil or other neutral oils to get a more moist cake but it will lose some flavour!
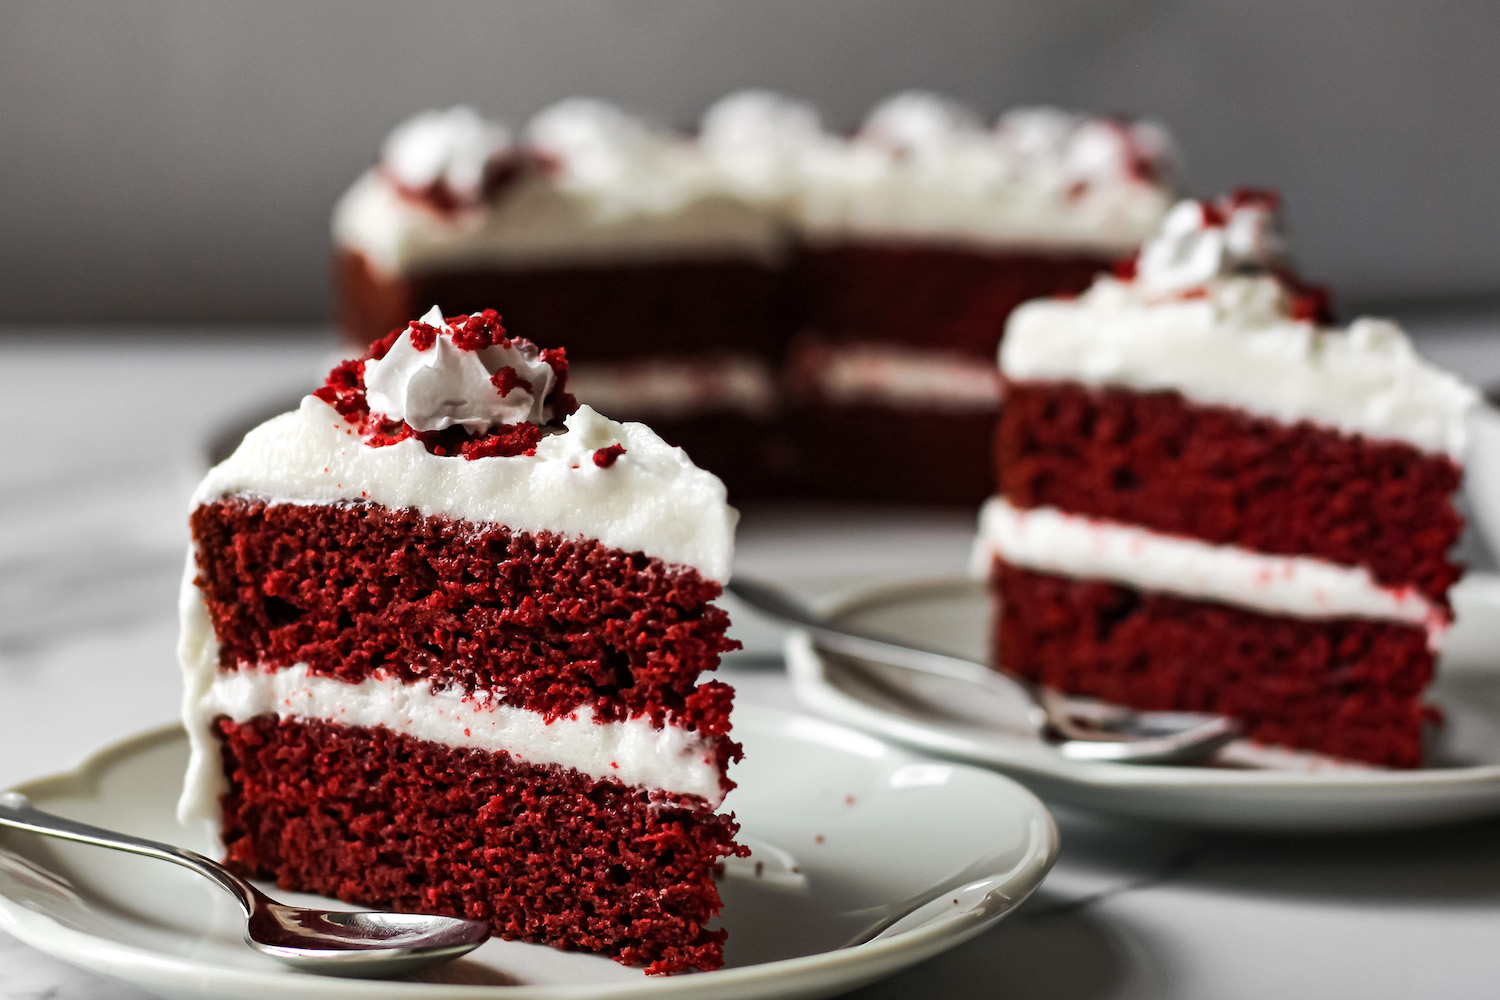
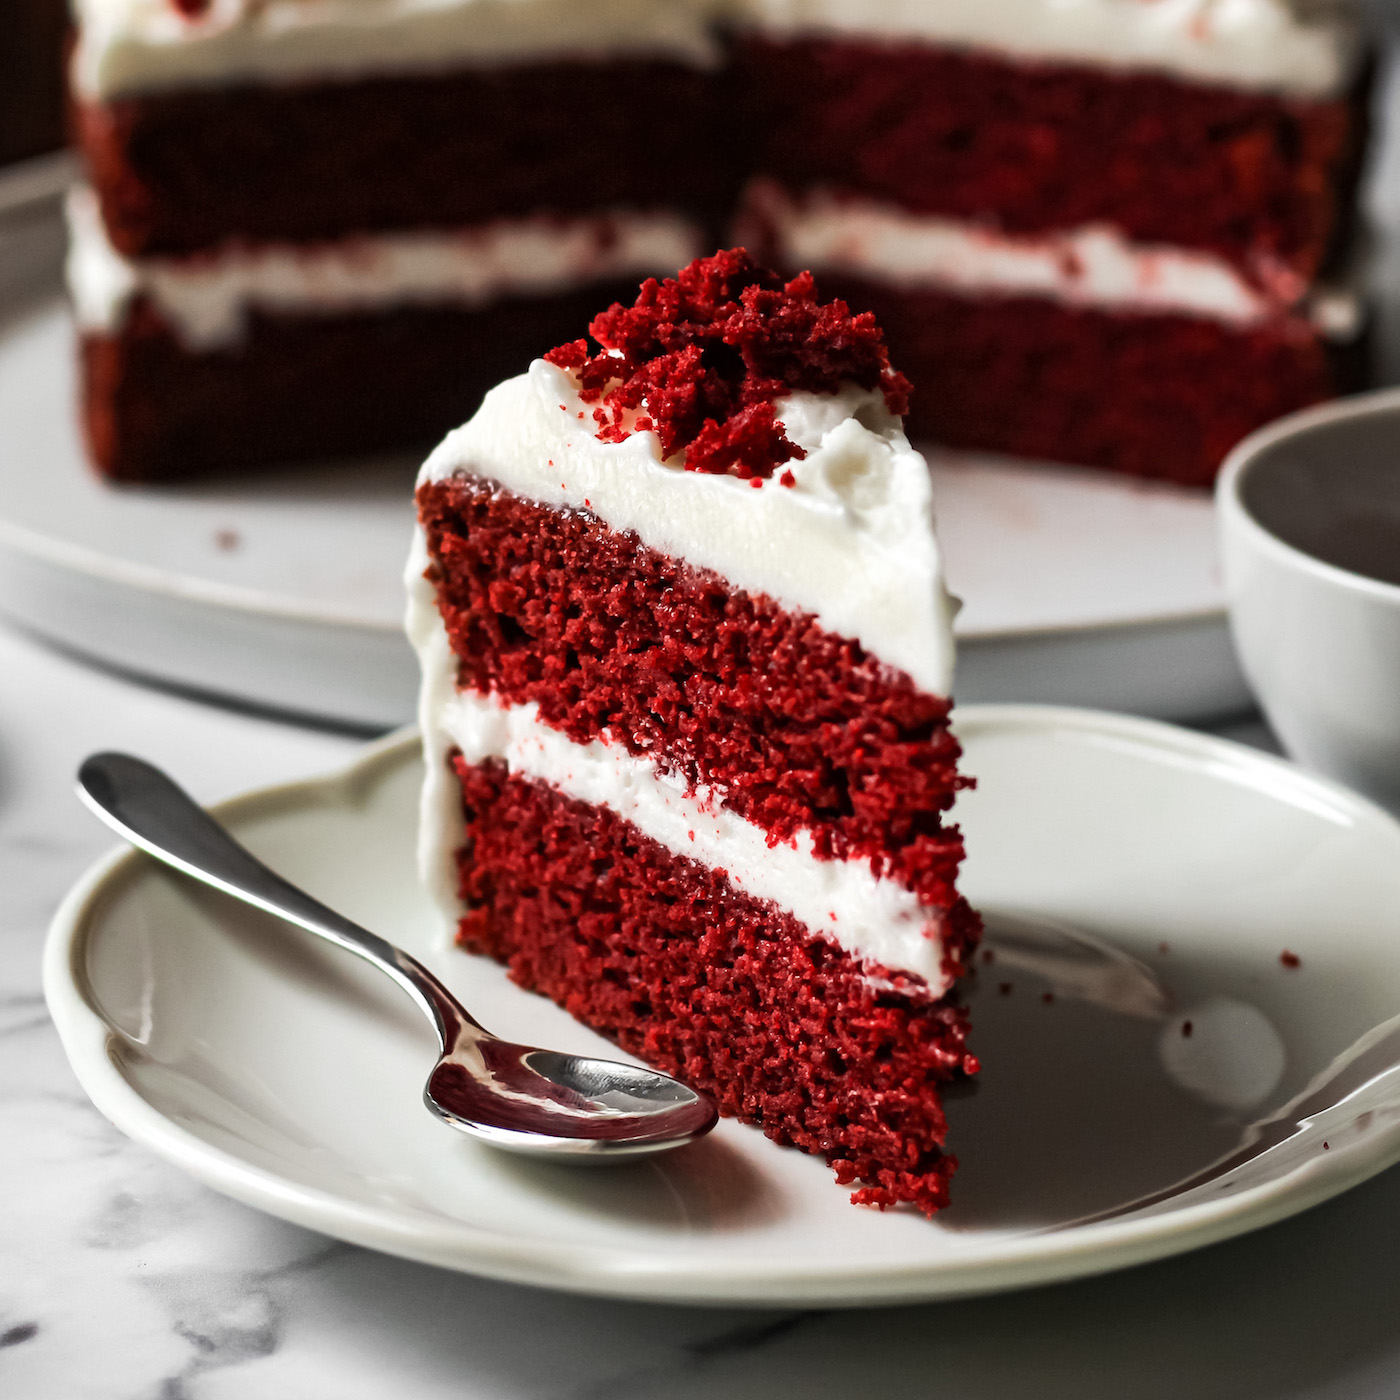
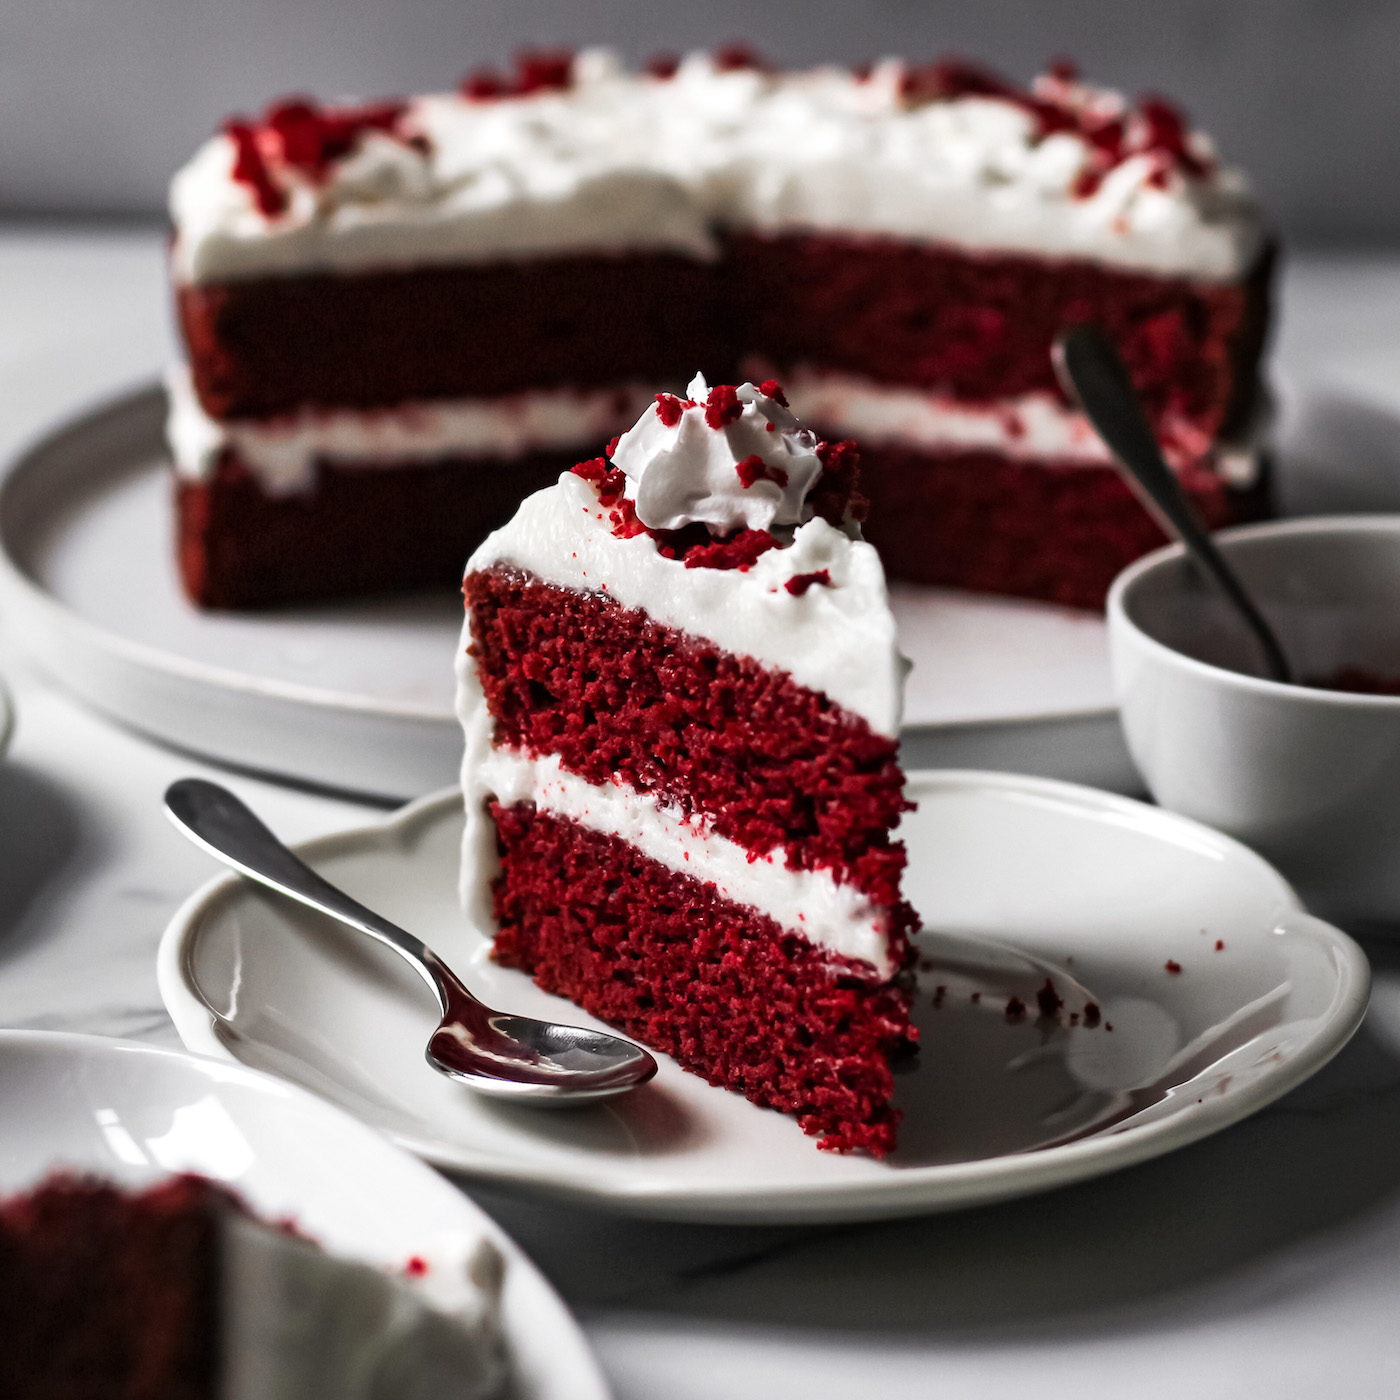
- I recommend about 1 tbsp of red gel food colouring in this recipe to get the deep, rich, red colour you can see in the photos but if you want the cake any brighter feel free to add a little more. You absolutely must use gel colouring or you won’t get the same colour. Some natural dyes will fade too so just do some research before you make any substitutions.
- I use non-Dutched processed cocoa. This is the cheaper “natural” kind you find in the supermarket. Be careful if you use the alkalised/Dutch-processed version because despite a higher quality flavour, it may throw off the chemistry, causing poor leavening or ruining the red colour.
If you’re in the UK, I’ve provided a list below with some of the key ingredients I’ve used…
Ingredients:
- For the red gel food colouring I use sugar flair extra red (completely vegan).
- My go-to vegan butter is the one from Naturli.
- For the plant milk, I used Alpro soy milk but you can use another other of the plant milks such as oat or rice if you need to be soy/nut free!
- For the vegan vegetable shortening, you can use Crisp ‘n’ Dry blocks, Crisco or Trex!
In this recipe you’ll need:
- 2 x 8-inch cake tins (ideally loose bottom)
Vegan Red Velvet Cake
This vegan red velvet cake is so fluffy and moist yet completely dairy-free, egg-free and vegan! The cream cheese frosting is a guaranteed crowdpleaser and the whole thing can be whipped up in no time at all!
Ingredients
- Cake ingredients:
- 320g All-purpose (plain) flour
- 280g caster sugar
- 1 tbsp cocoa powder
- 2 tsp baking soda
- 350ml plant milk (warm)
- 2 tbsp apple cider vinegar
- 120g vegan butter, melted
- 1 tbsp vanilla extract
- 1 ½ tbsp red gel food colouring (vegan) or 2 tbsp beetroot powder
- ½ tsp sea salt
- Cream cheese frosting:
- 200g vegetable shortening, room temp
- 200g vegan butter, room temp (or vegan cream cheese)
- 450g icing sugar
- 1 tbsp apple cider vinegar (or lemon juice) (omit if using cream cheese above)
- 1 tsp vanilla extract
- pinch of salt
Directions
- Step 1 Cakes: Pre-heat the oven to 180C (356F).
- Step 2 Sieve together all the dry ingredients (flour, sugar, cocoa powder, baking soda, and salt) in a large mixing bowl.
- Step 3 Warm up the plant milk. 60 seconds in the microwave should be enough.
- Step 4 Add the apple cider vinegar to the milk to make a “buttermilk”. Leave to curdle for 10 minutes.
- Step 5 While you wait, line your 2x 8-inch cake tins with parchment paper.
- Step 6 Add the remaining wet ingredients (vegetable oil, vanilla extract, red food colouring) to the buttermilk. Whisk vigorously until smooth.
- Step 7 Create a well in the dry ingredients and pour the wet ingredients in. Whisk together until fully incorporated. Be careful not to overmix.
- Step 8 Pour the cake batter into the cake tins and put in the oven for 30 minutes. Use a toothpick at 30 minutes to see if they are cooked (should come out clean after a few pokes).
- Step 9 Take out of the oven and leave to cool for 15-20 minutes. Once they have cooled down a little, remove them from the tins and place on a wire rack to cool completely. Optionally, place them in an airtight container in the fridge to completely chill.
- Step 10 Cream cheese frosting: Use a paddle attachment to cream the vegetable shortening until it is bright white. Add the vegan cream cheese or vegan butter and pulse a few times until it has mixed together.
- Step 11 Gently spoon in half of the icing sugar and pulse a few times to incorporate it.
- Step 12 Add the vinegar/lemon juice and the vanilla. Add the remaining icing sugar one spoon at a time until the frosting is at a consistency (and sweetness) you prefer.
- Step 13 Assembly:Take the first layer of red velvet cake and place it on a plate. Optionally, cut off the dome with a bread knife.
- Step 14 Scoop some frosting on the first layer with a spatula and spread it out until it’s a completely flat layer.
- Step 15 Place the second layer carefully on top. Spread the rest of the filling on top of the second layer and optionally around the edges too! If the frosting starts too soften while you assemble it, place the whole cake in the fridge to chill between layers.
- Step 16 Decorate with the spare crumbs from the dome we cut off earlier or with whipped cream! Serve!

